Who Am I ?My name is Rey Valero Jr.
|
|
My Blog
Hockney


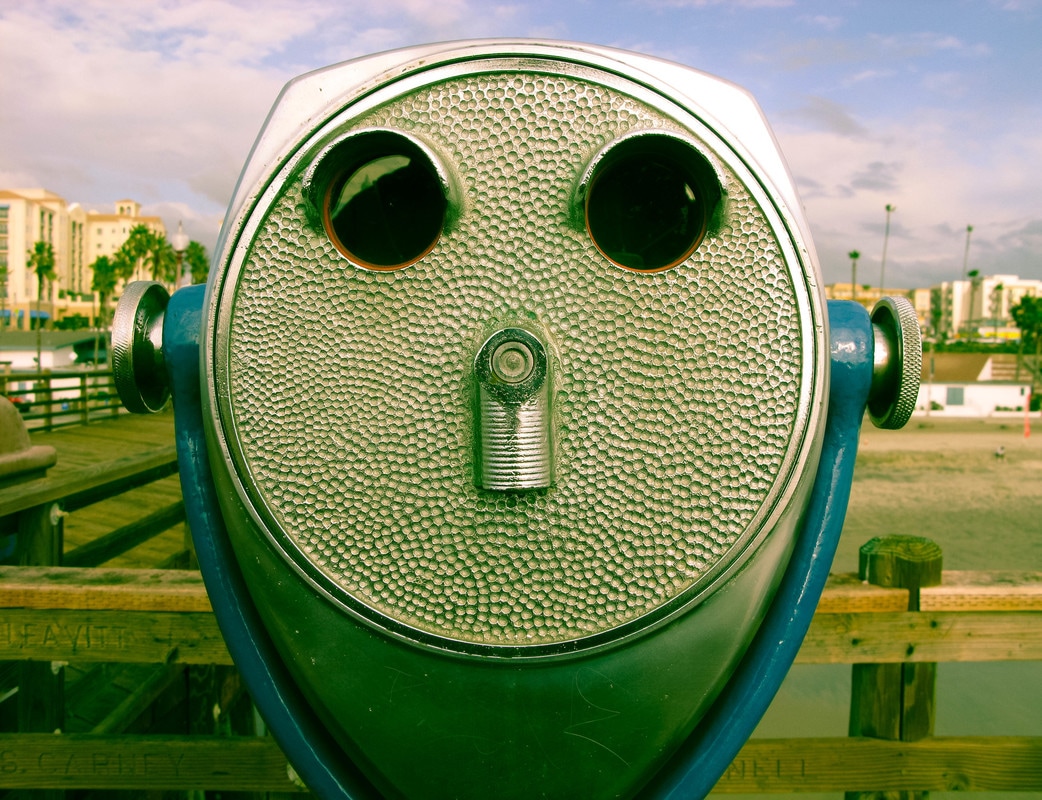
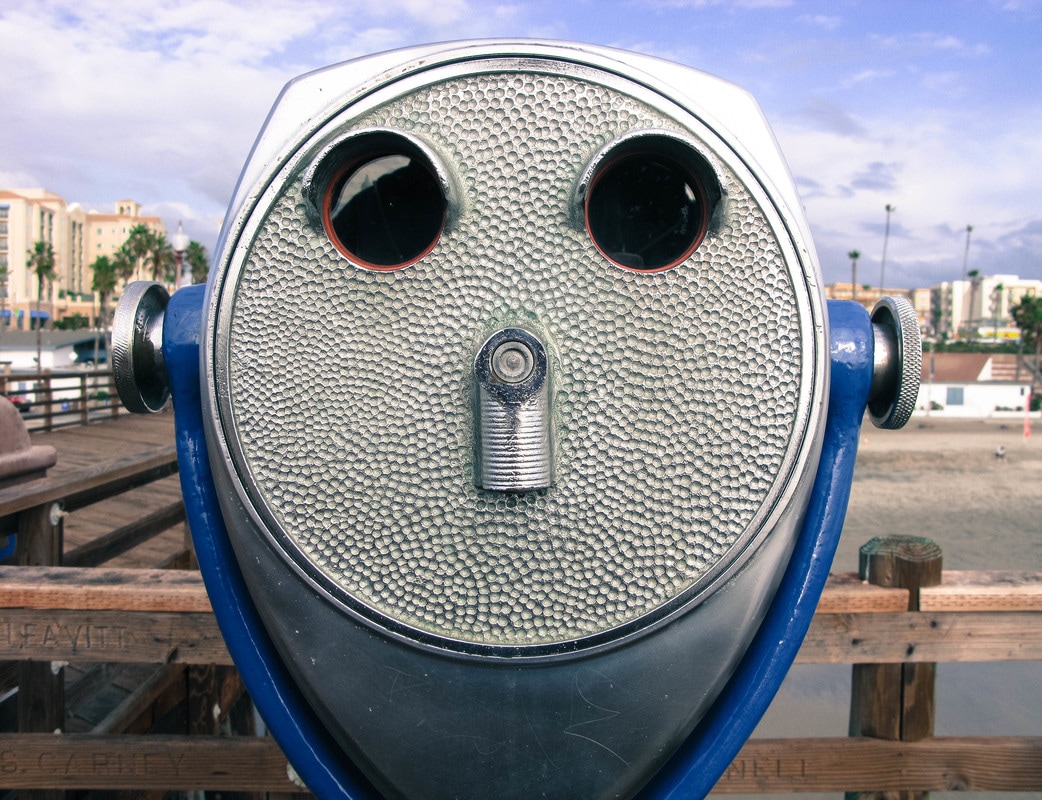
David Hockney was born on July 9, 1937 in Bradford, United Kingdom. He used to attend an art school in london, but in the 1960s, he moved to Los Angeles. In los Angeles he did a lot of painting but began working in photography in the 70s. In photography, Hockney did what people call joiners which are when you take multiple images of a subject and connect them together in order to form one single picture. This artwork emulates his style because in order to create it, I took many closer-up pictures of a subject and conjoined them together in order to form what would look like the actual picture to the best of my ability.
In order to create these, I first took multiple close-up pictures of a subject. After this, I had to use photoshop in order to put them together to make it look like how the actual picture should’ve looked. First I had to make a layout of where I’d place the pictures. To do this, I had to make a new project and choose the Height, Width, and Resolution. After, I resized each picture to a smaller size so that they’d fit properly in the given area. I then placed all pictures that look like they would lead to the next area in the subject so that they’d barely overlap each other. Lastly, I again resized or repositioned all the pictures I needed to in order to make it look similar to how the actual picture should’ve looked.
In order to create these, I first took multiple close-up pictures of a subject. After this, I had to use photoshop in order to put them together to make it look like how the actual picture should’ve looked. First I had to make a layout of where I’d place the pictures. To do this, I had to make a new project and choose the Height, Width, and Resolution. After, I resized each picture to a smaller size so that they’d fit properly in the given area. I then placed all pictures that look like they would lead to the next area in the subject so that they’d barely overlap each other. Lastly, I again resized or repositioned all the pictures I needed to in order to make it look similar to how the actual picture should’ve looked.
Magazine Cover
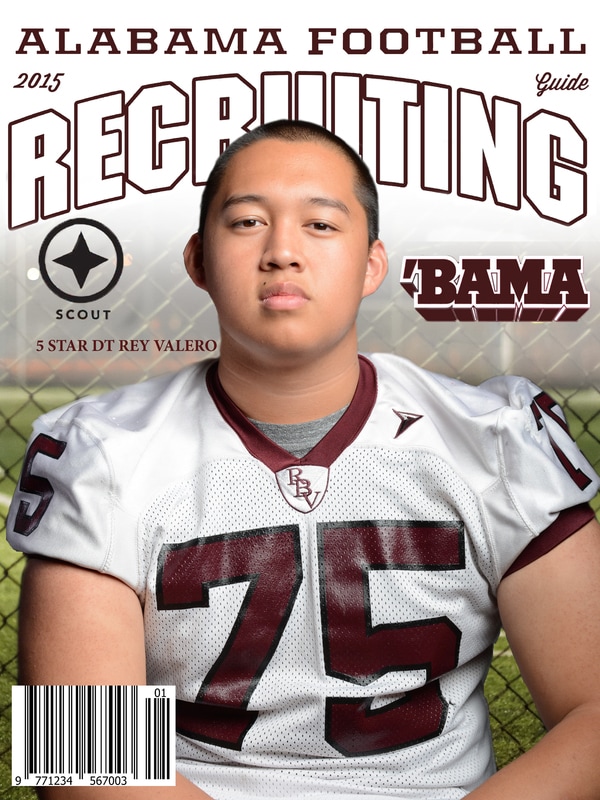
I chose to make my own version of a "RECRUITING" magazine cover because it regards college football which is one of my major interests. To emulate
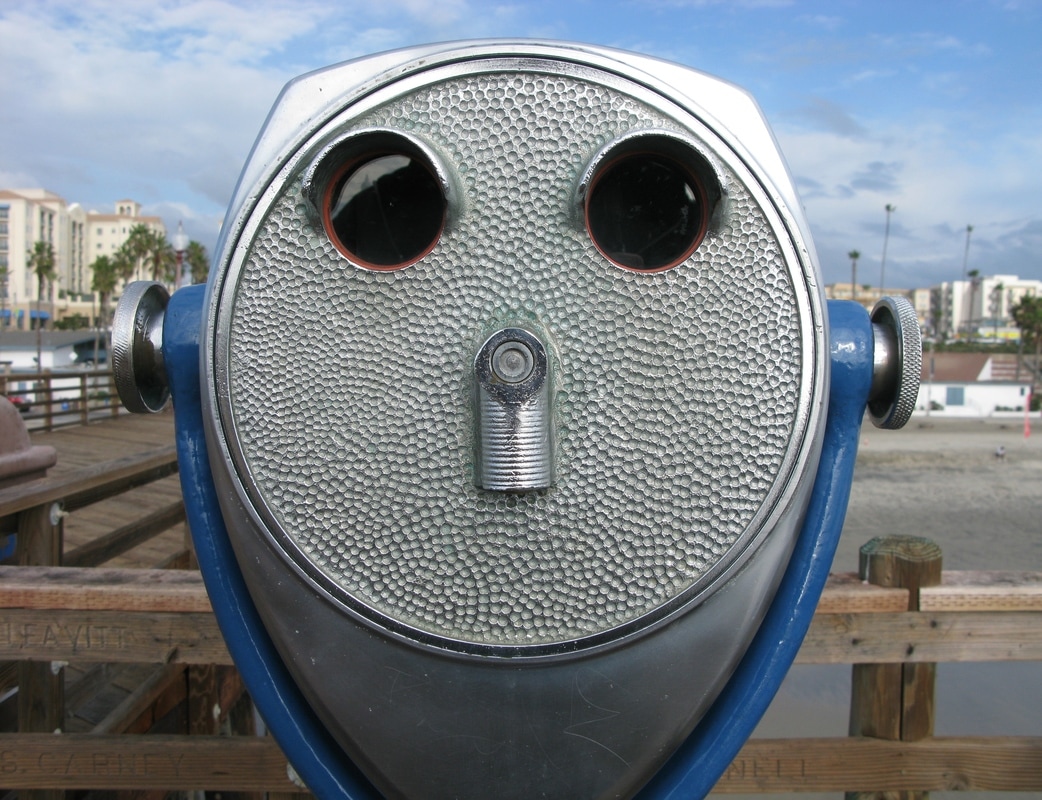
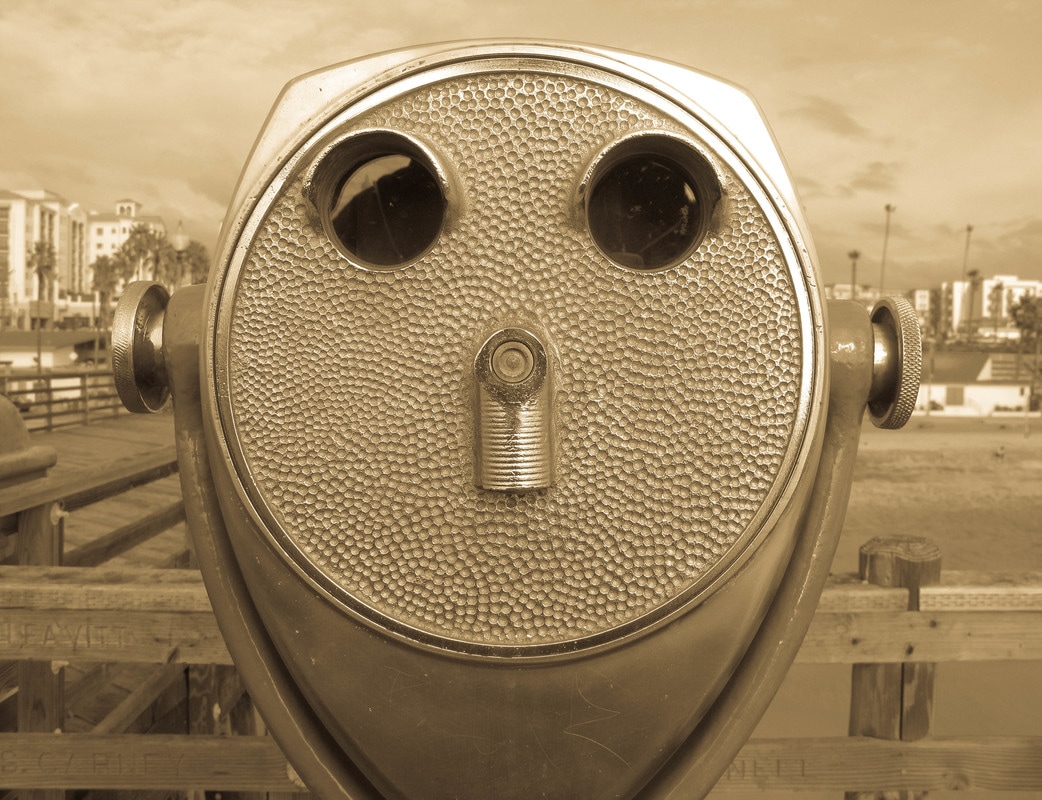
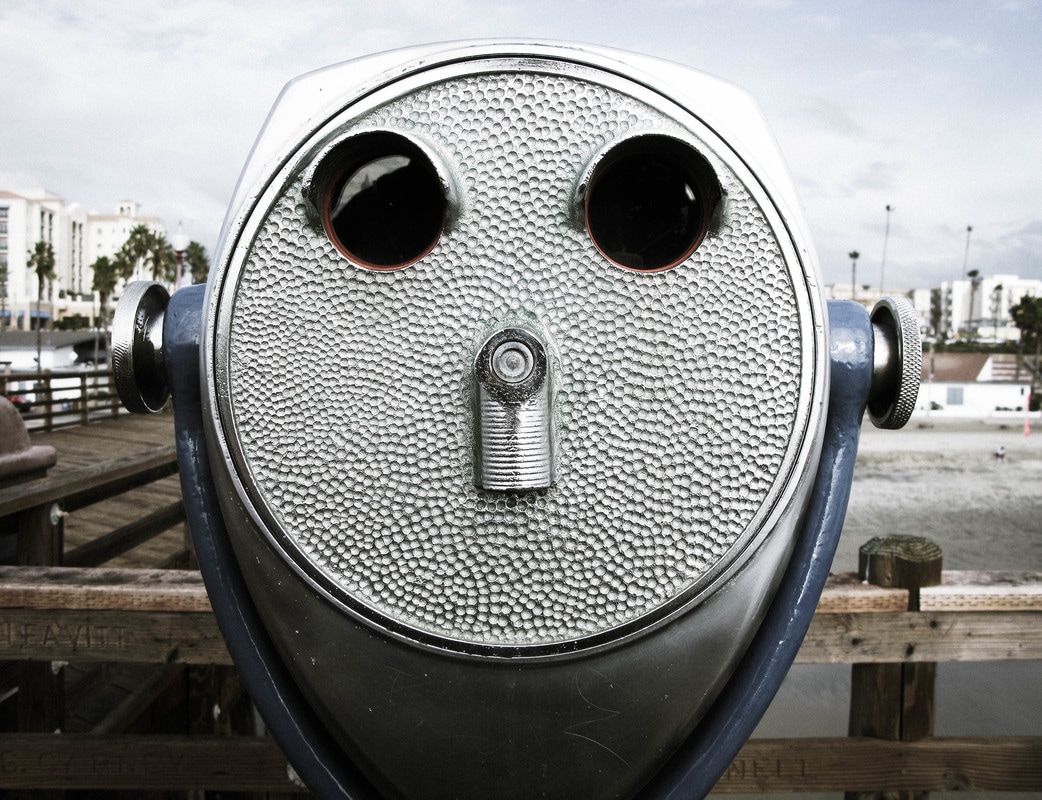
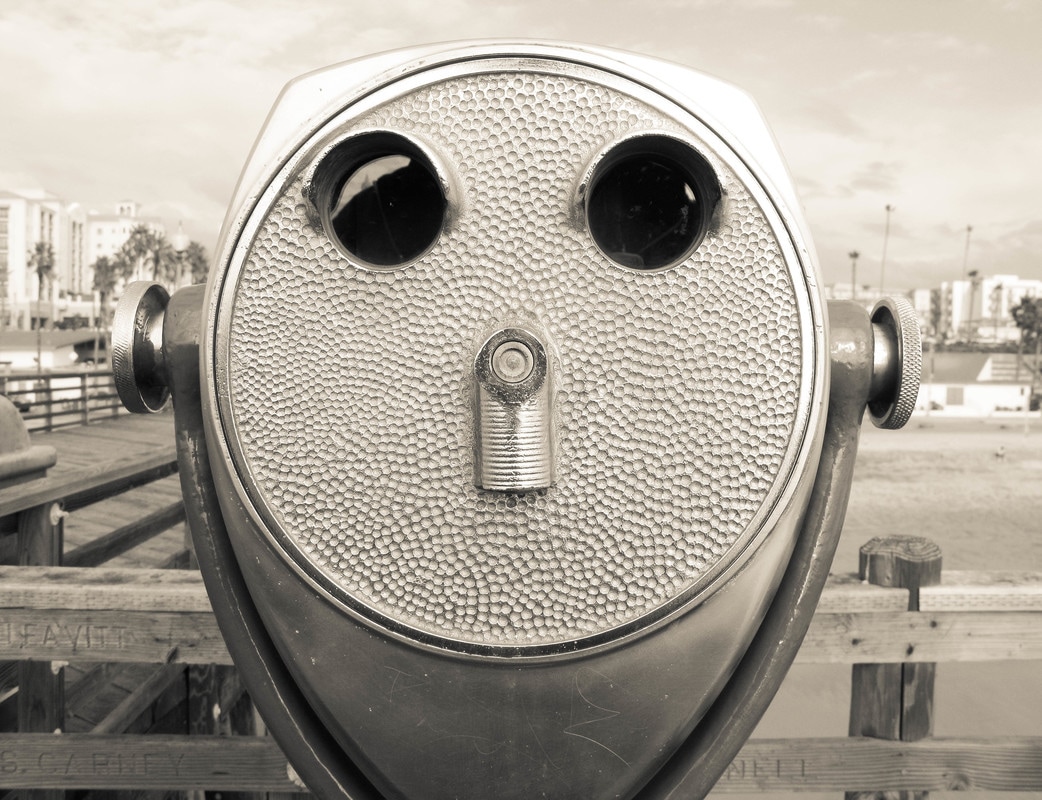
Lightroom
Aged
Antique Light

Antique
Bleach Bypass
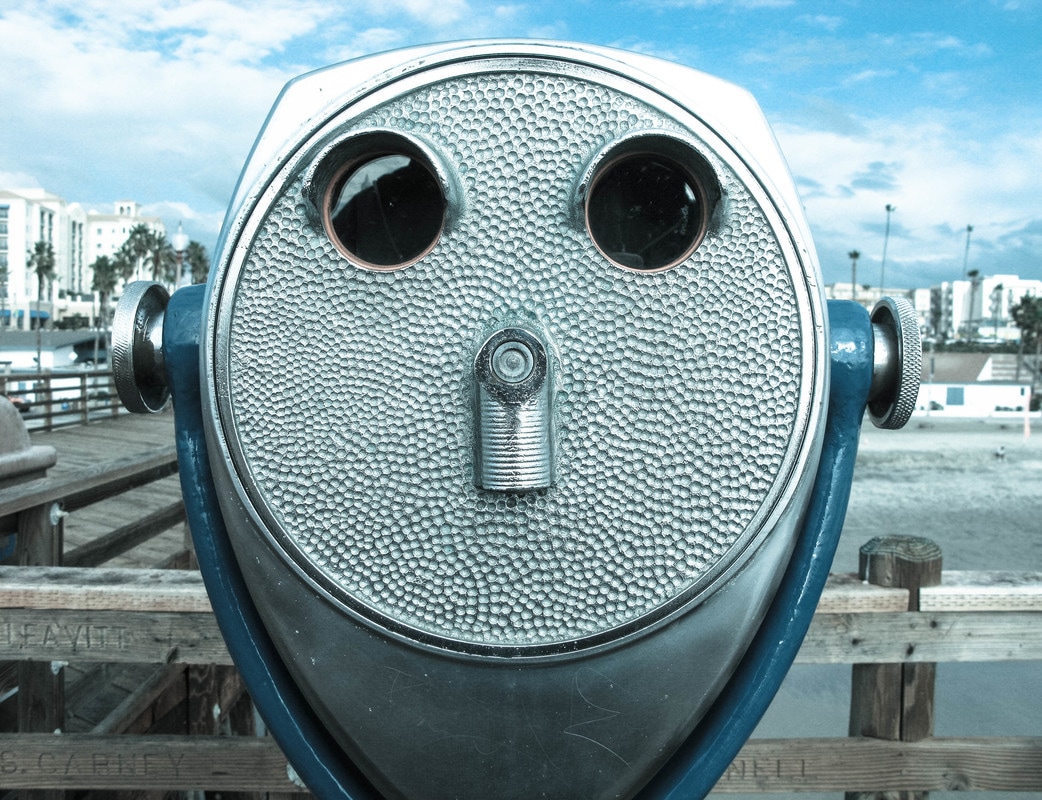
Cold Tone
Cream Tone
Cross Process
Cross Process 2
Cross Process 3

Cyanotype
Direct Positive
Old Polar
Selenium Tone
Sepia Tone
Split Tone
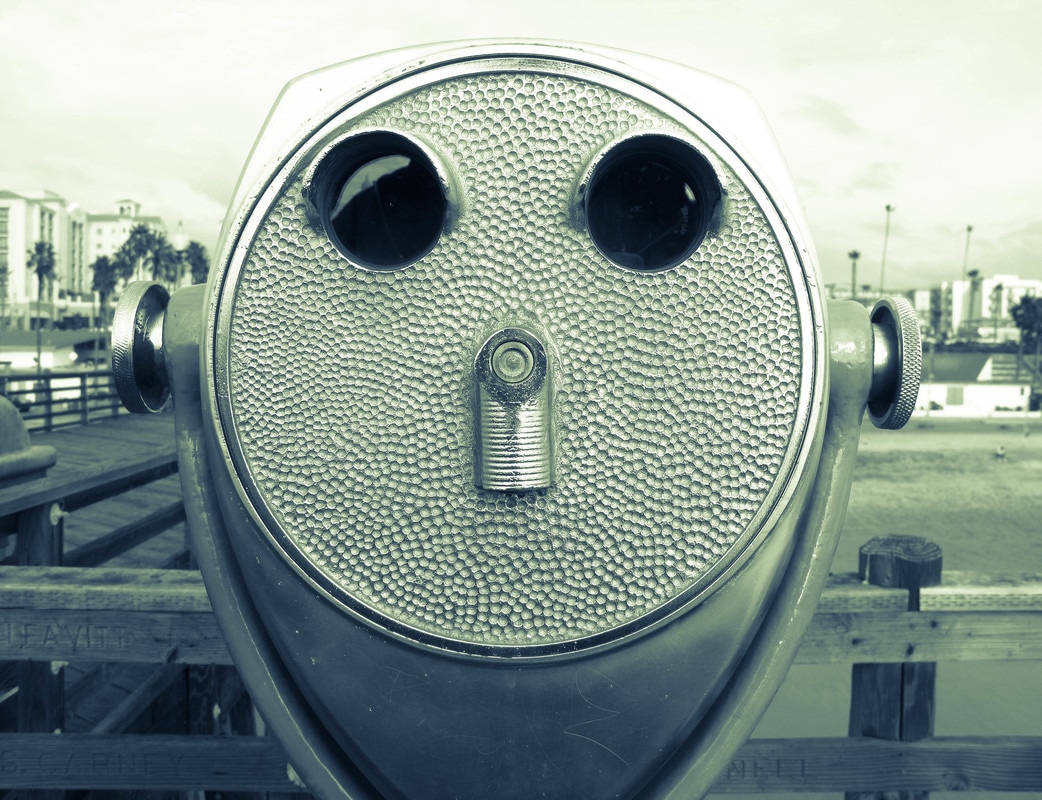
Split Tone 2
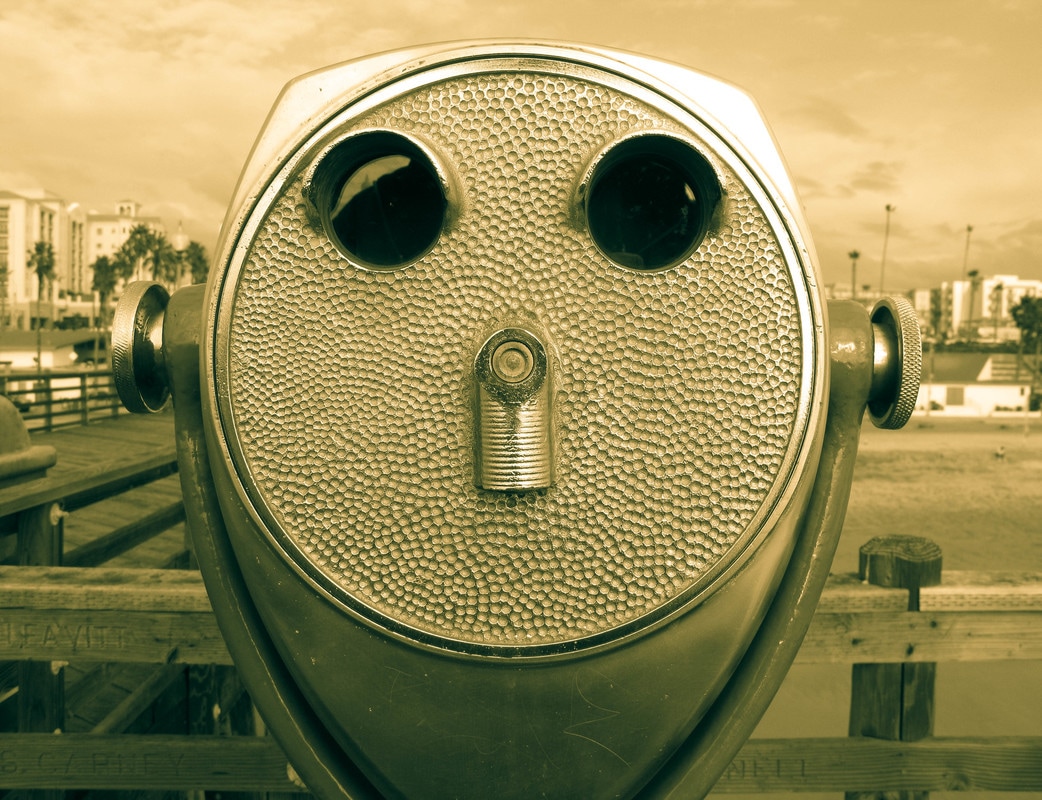
Split Tone 3
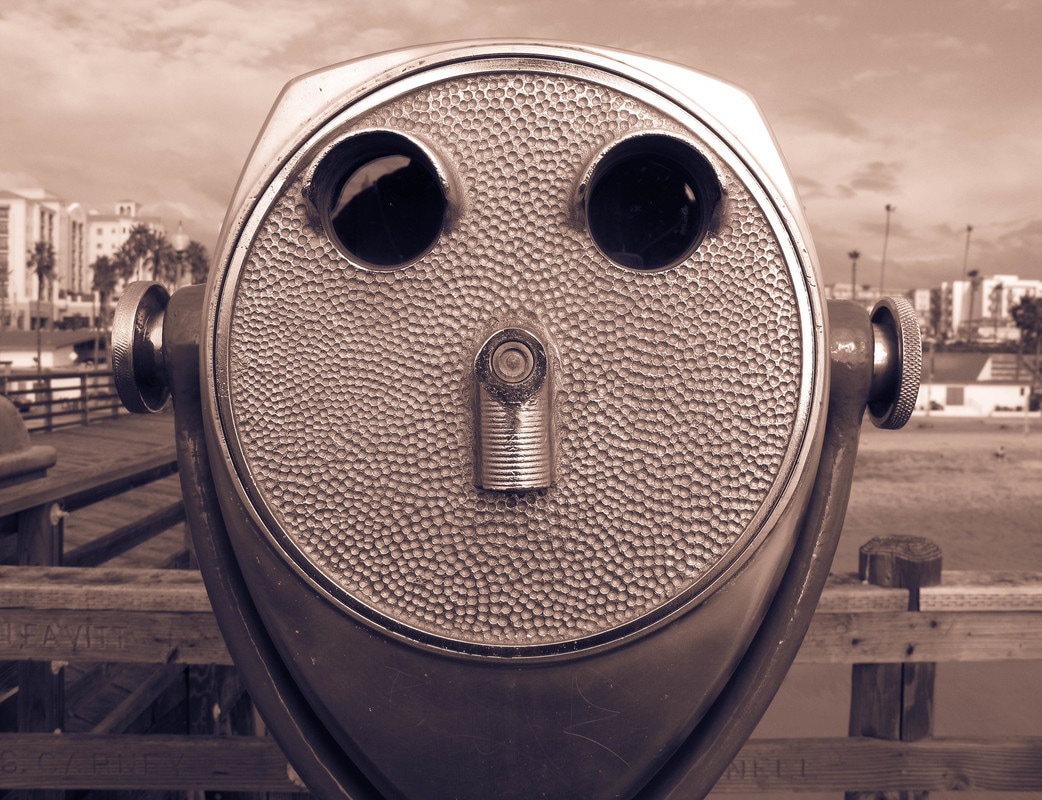
Split Tone 4
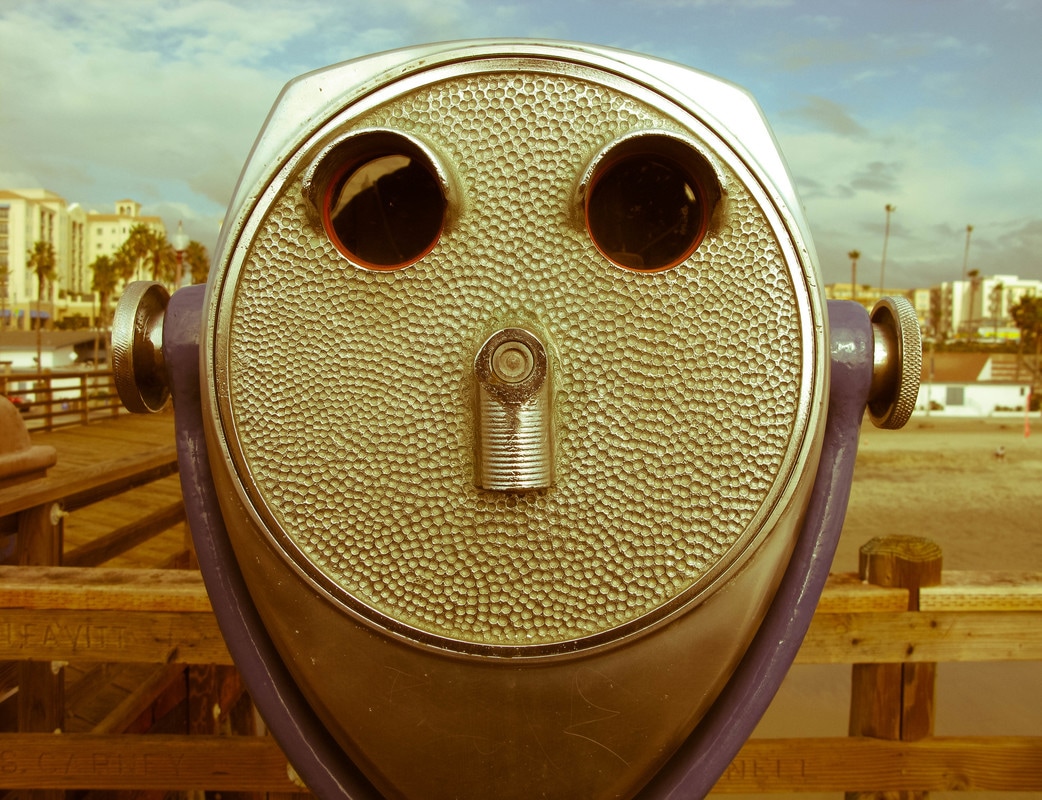
Yesteryear
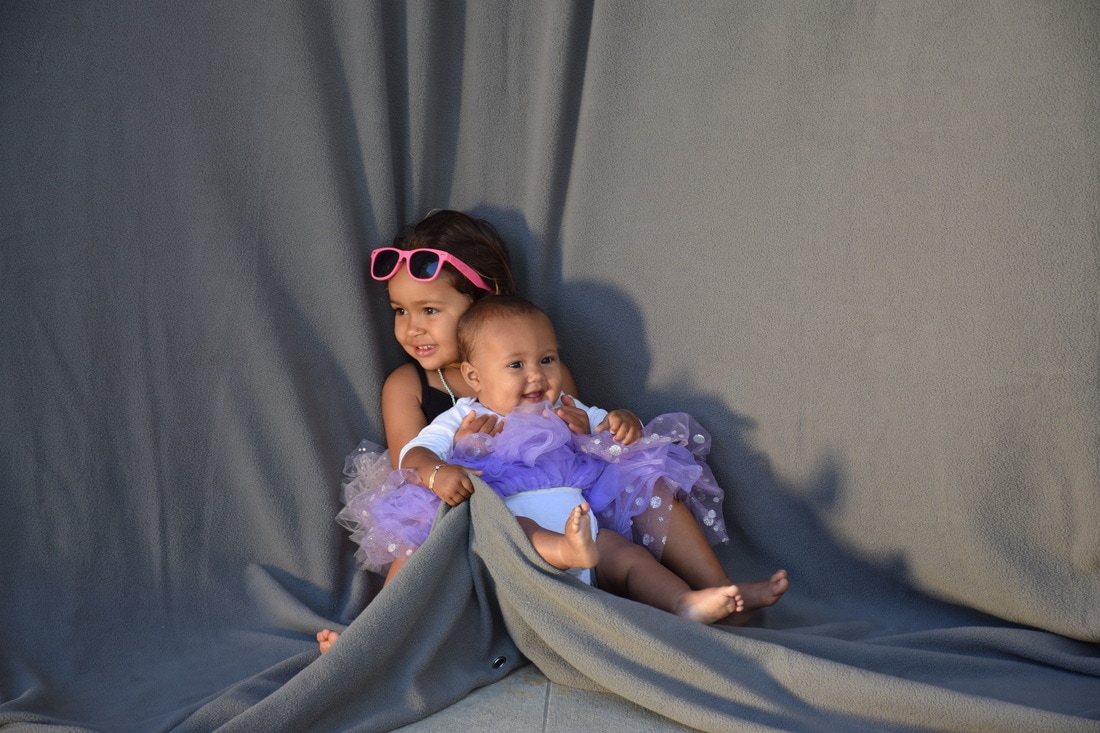
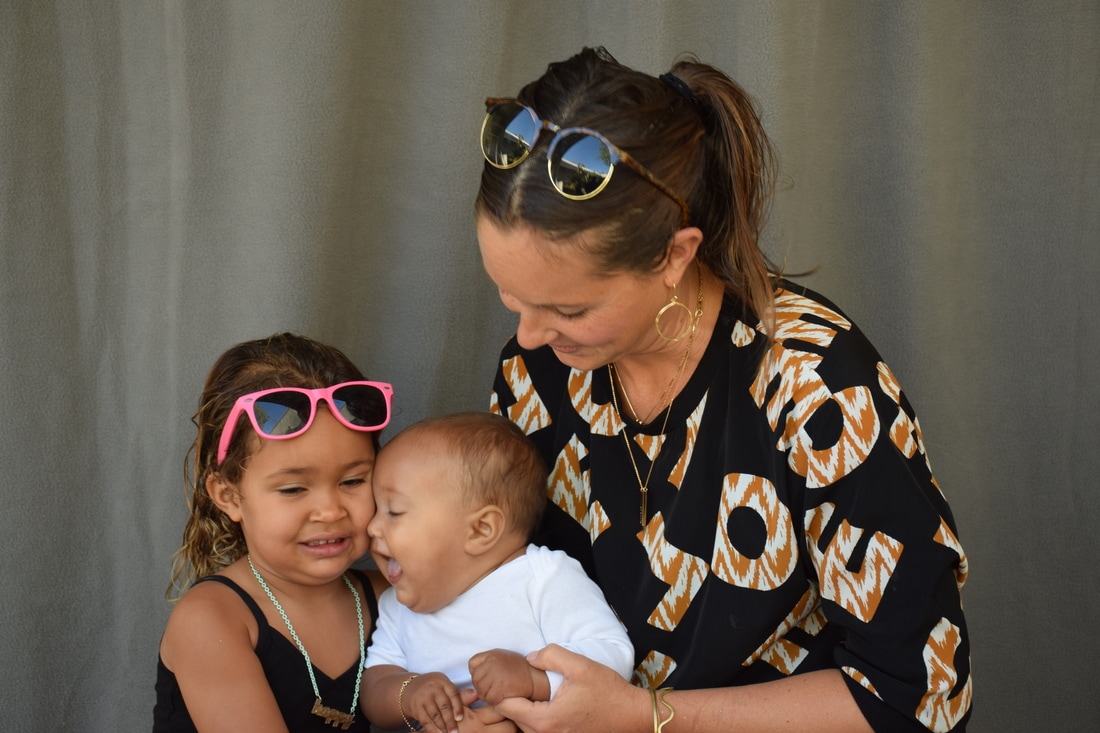
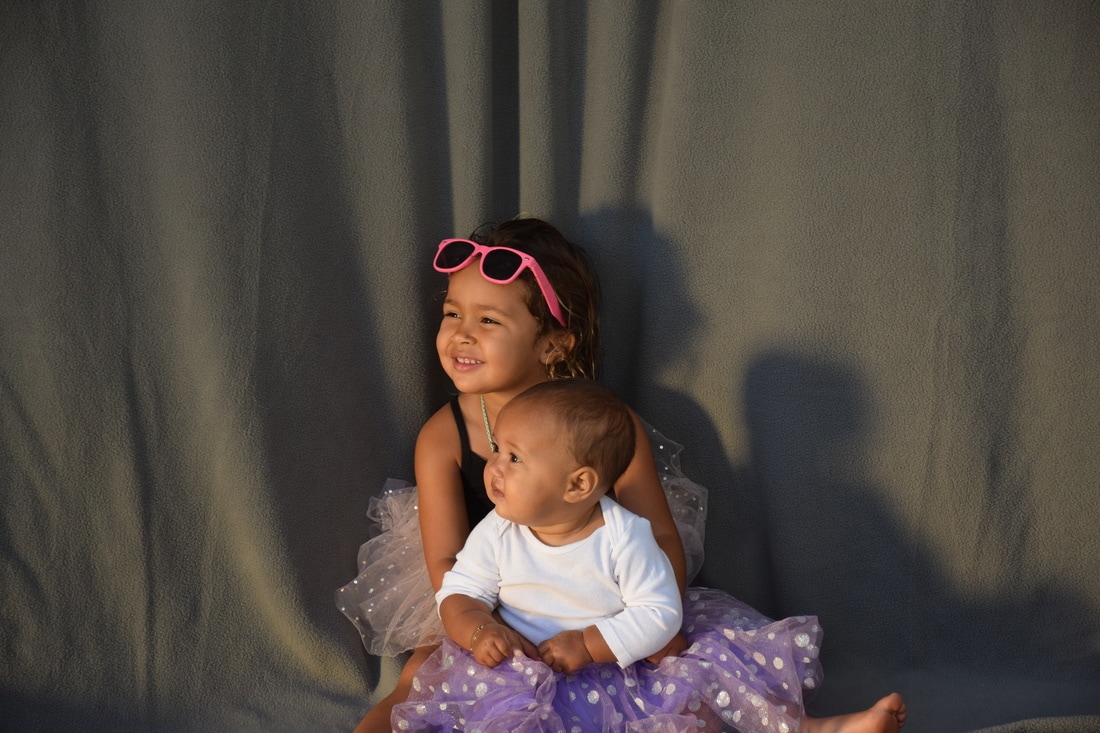
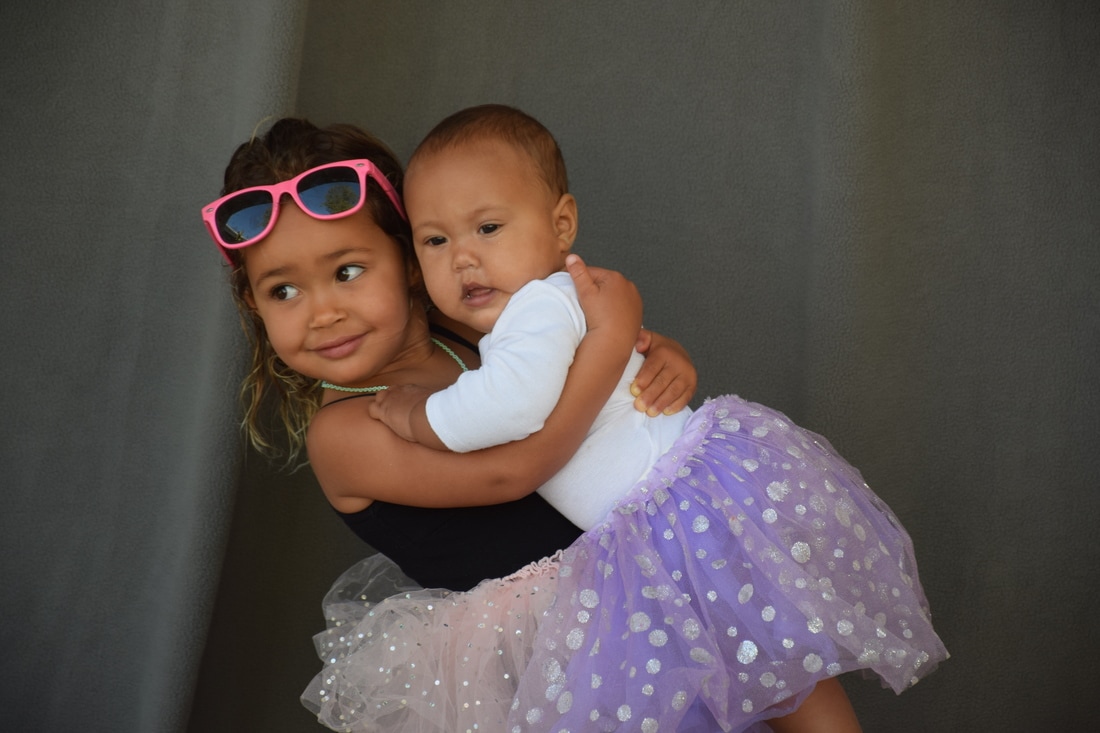
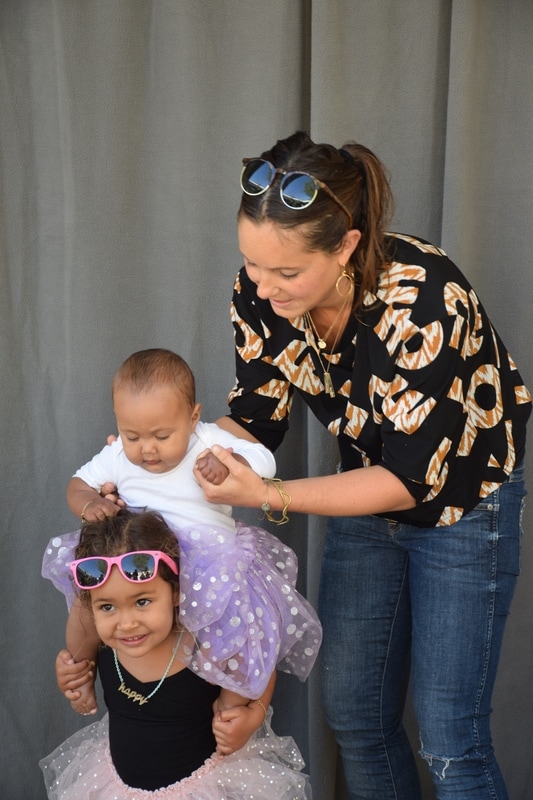
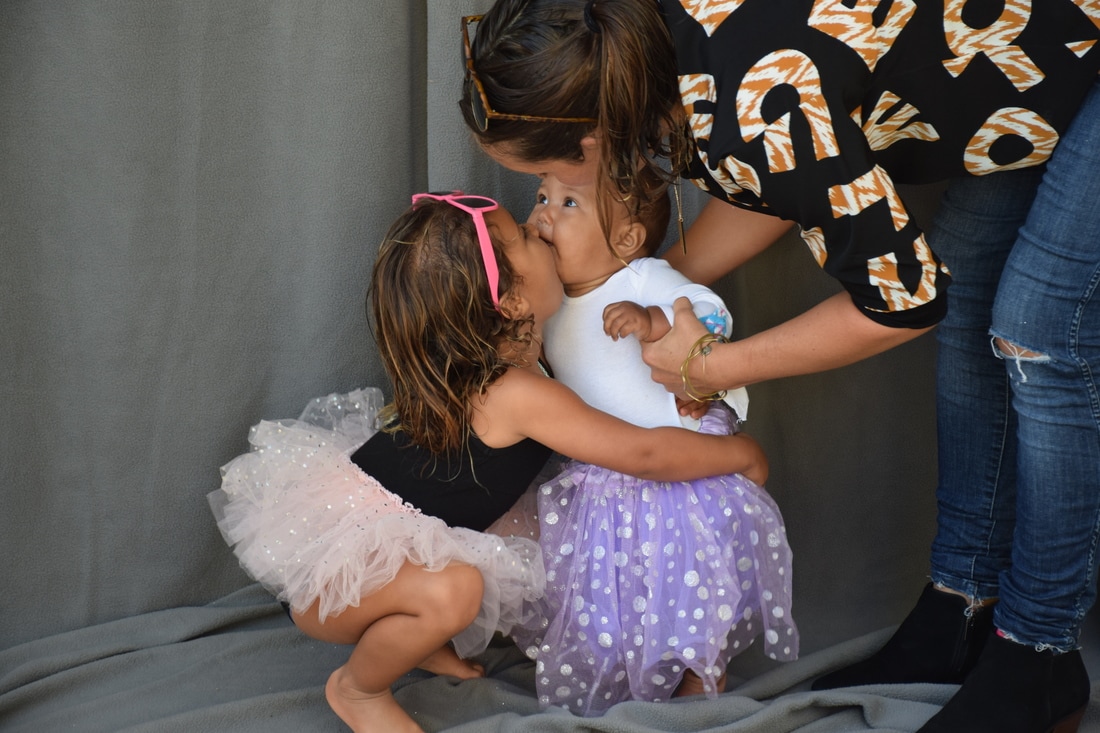
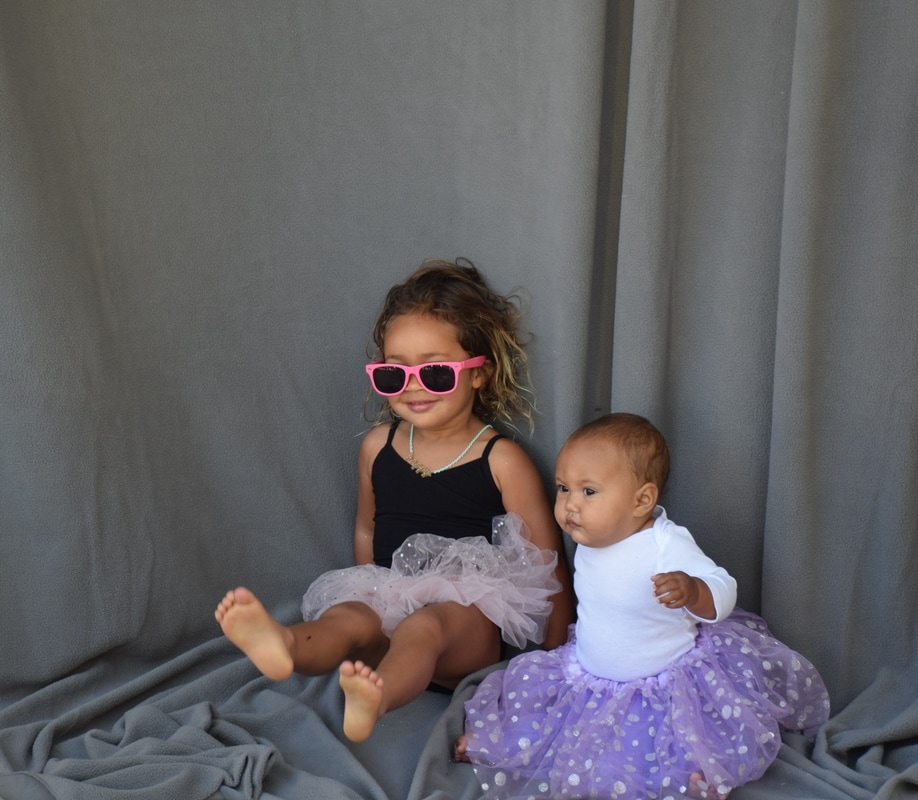
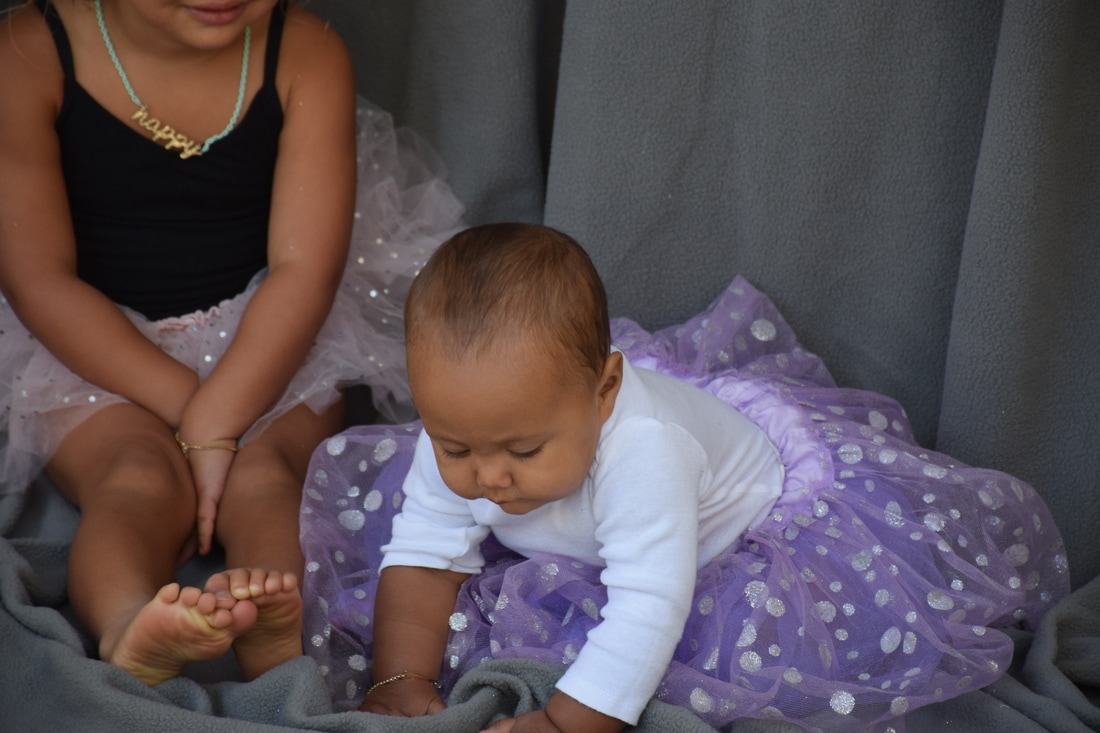
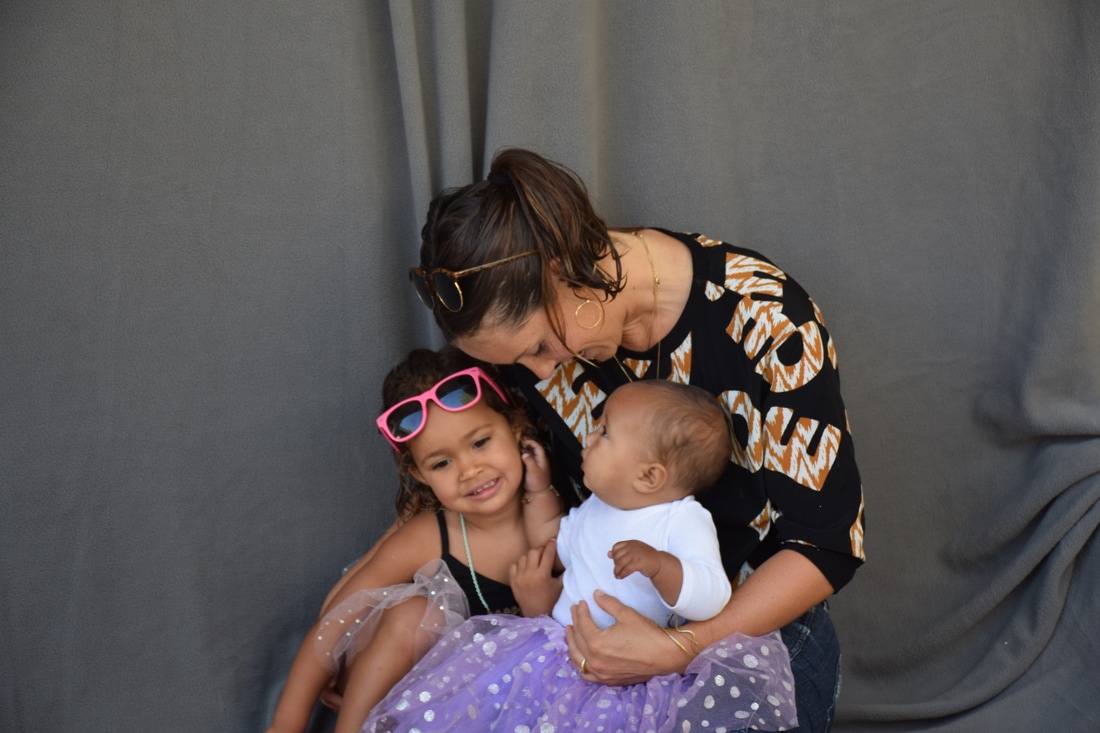
Family Portraits
Del Mar Fair Entry

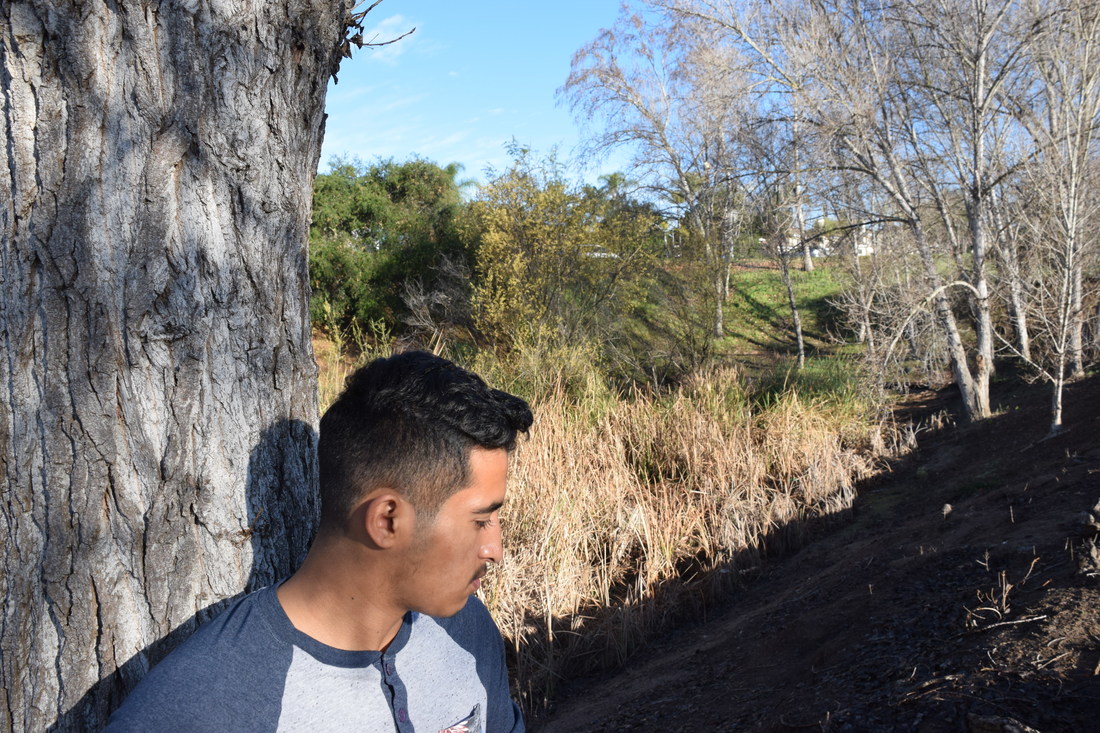
The title of this piece is “Got You” and it represents a verse of Daniel Caesar’s song “Get You” that states, “Through Drought and Famine, Natural Disasters, My Baby has Been around for me”. The image of the couple staring off into the distance was taken on the Oceanside Pier and the rest of the photos were found on google. The camera and lens used to take the photograph are the Nikon D80 with an 18-140mm lens. In order to create this image, I used Adobe Photoshop CC 2015. In photoshop, I used the ruler tool in order to divide the image into 7 equal sections. I then used the quick selection tool to put the couple from the pier onto the photo composite. After, I took the 7 photos of natural disasters I found on Google and chose what I found to be the most appealing and what depicted the disaster best. I then cut the parts of each picture I didn’t need by using the rectangular marquee tool. Then, I strategically placed each picture in the divided sections that the rulers made so that the disaster could easily be seen and that the lighting would match the lighting on the people. Lastly, I used a layer mask in order to clean up anything that was left over, like extra parts that the quick selection tool picked up, that would cause the picture to not look as aesthetic as it possibly could be. This is a photo composite because I used many different photos in order to develop a deeper meaning than expected behind a singular photo. The meaning behind this photo composite is that people who have true love for one another will always stick together and have each other’s backs no matter what they’ve been through and will go through eventually. The was printed on Epson Glossy Photo Paper on the Epson P800 digital printer.
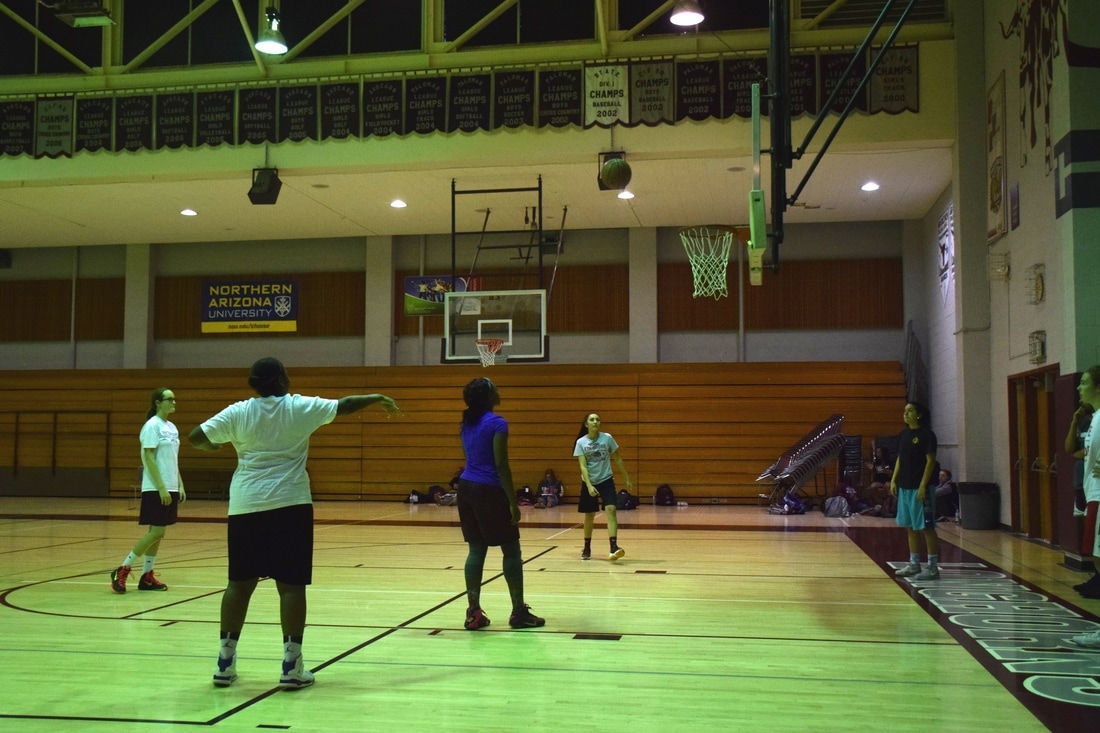
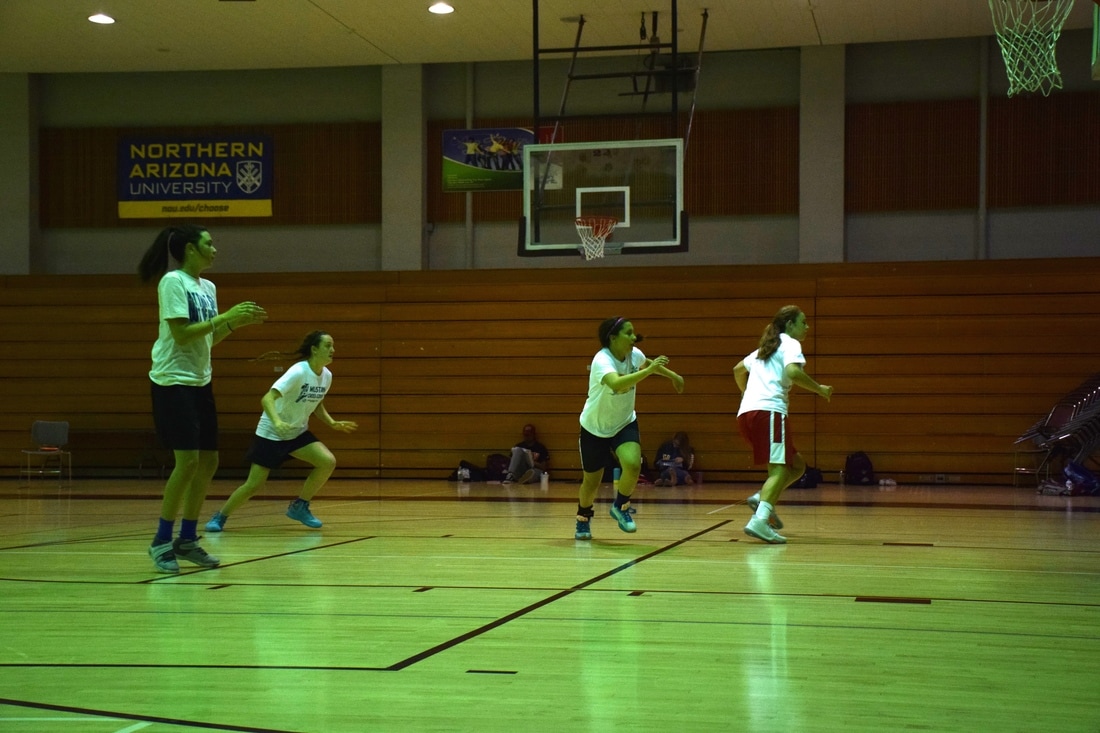
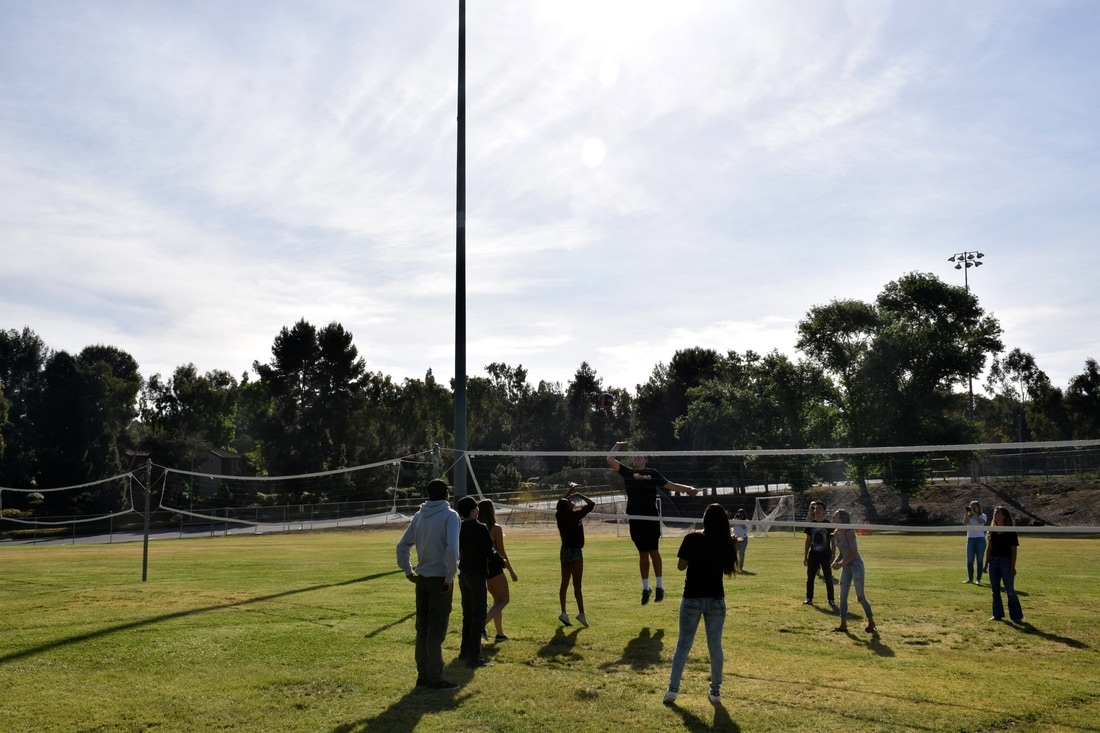
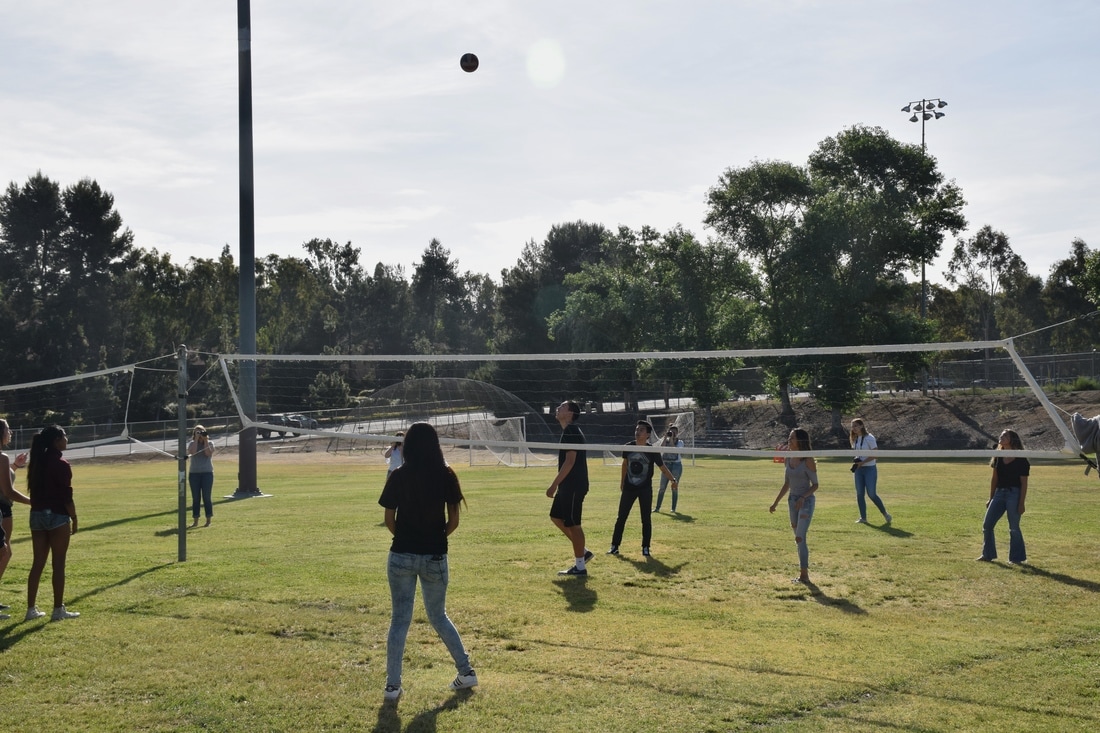
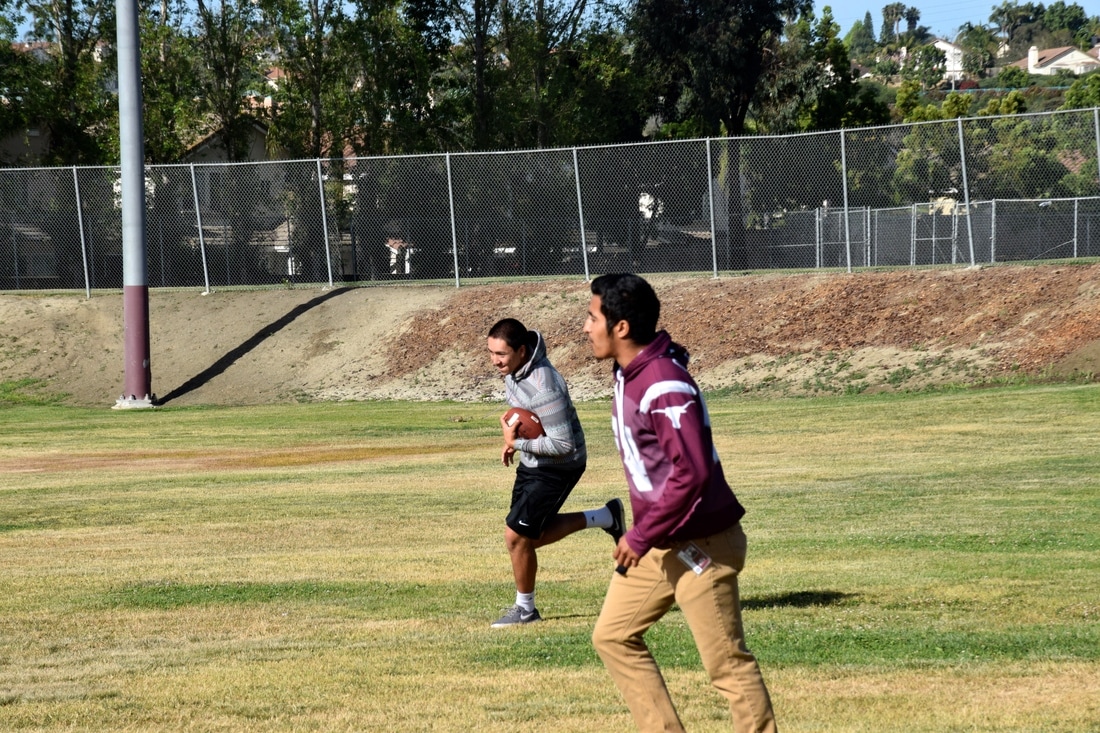
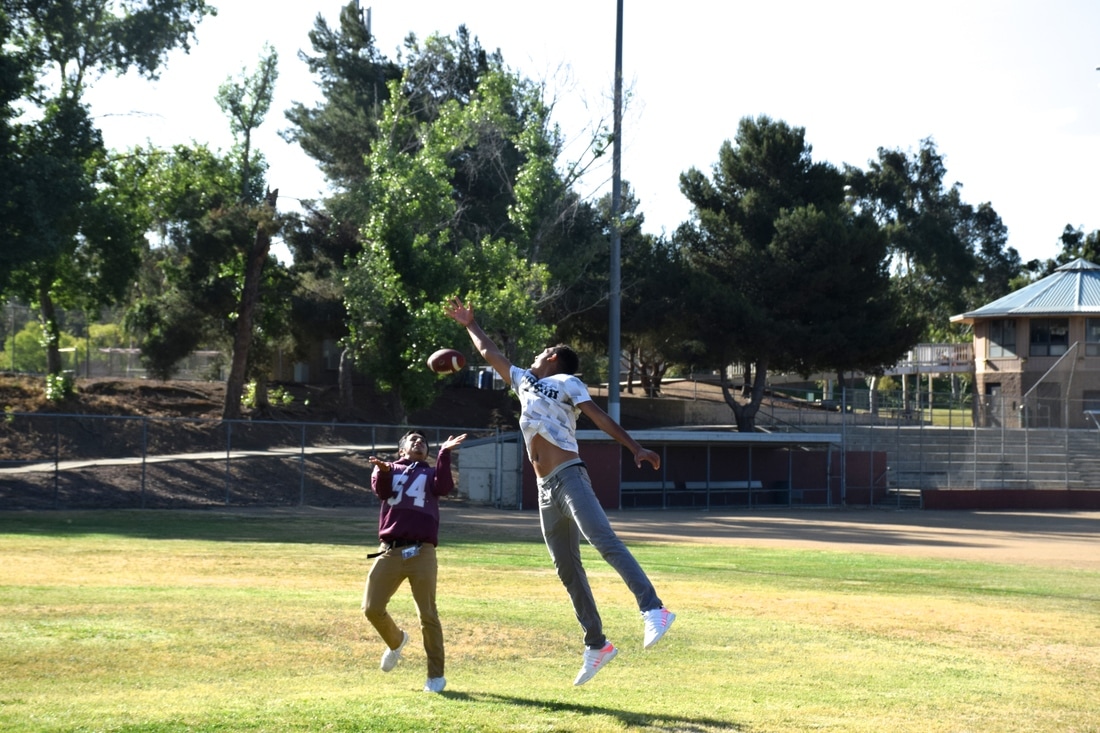
Sport Pictures
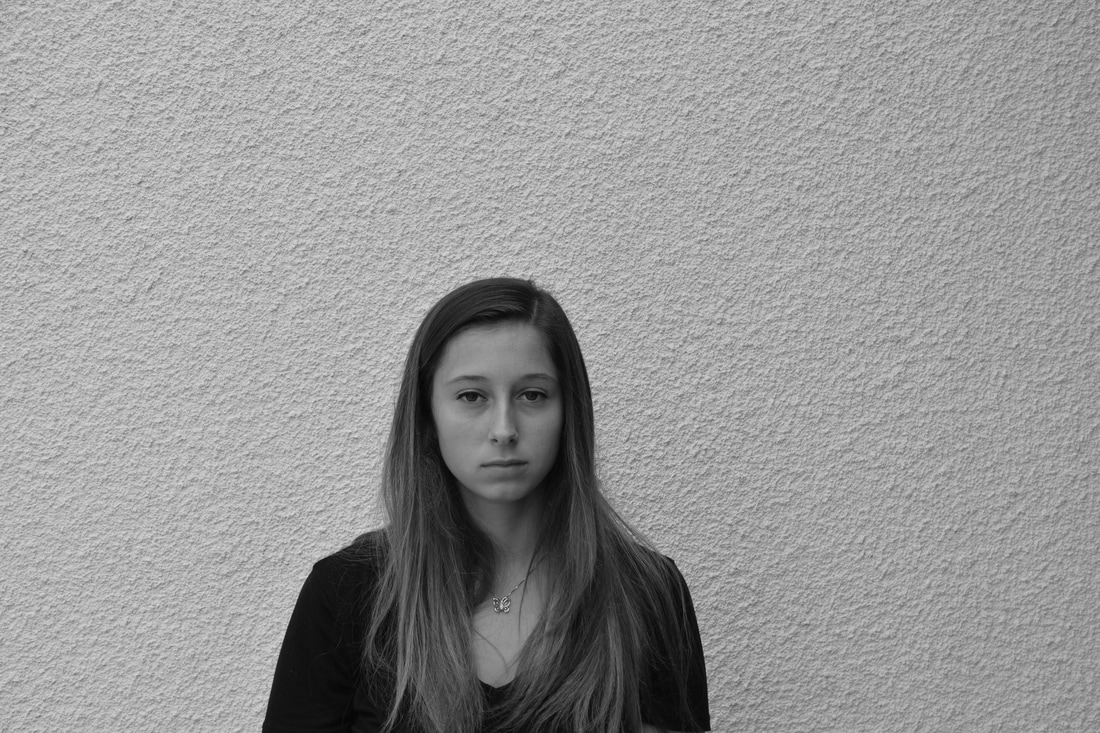
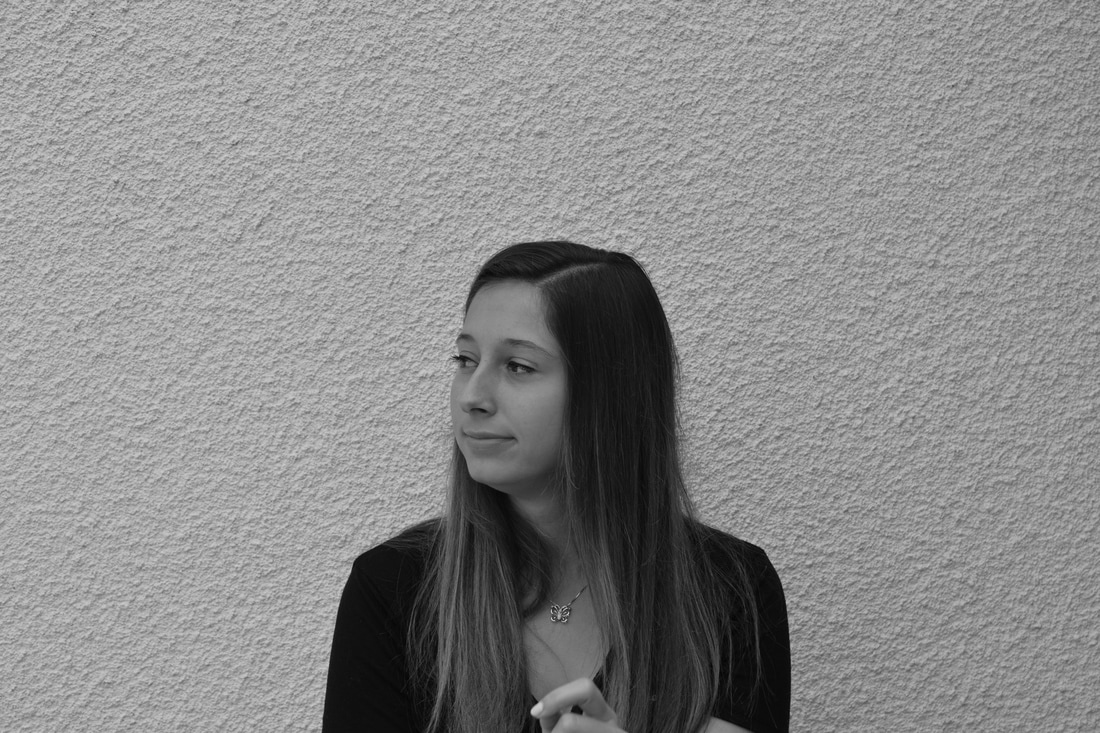
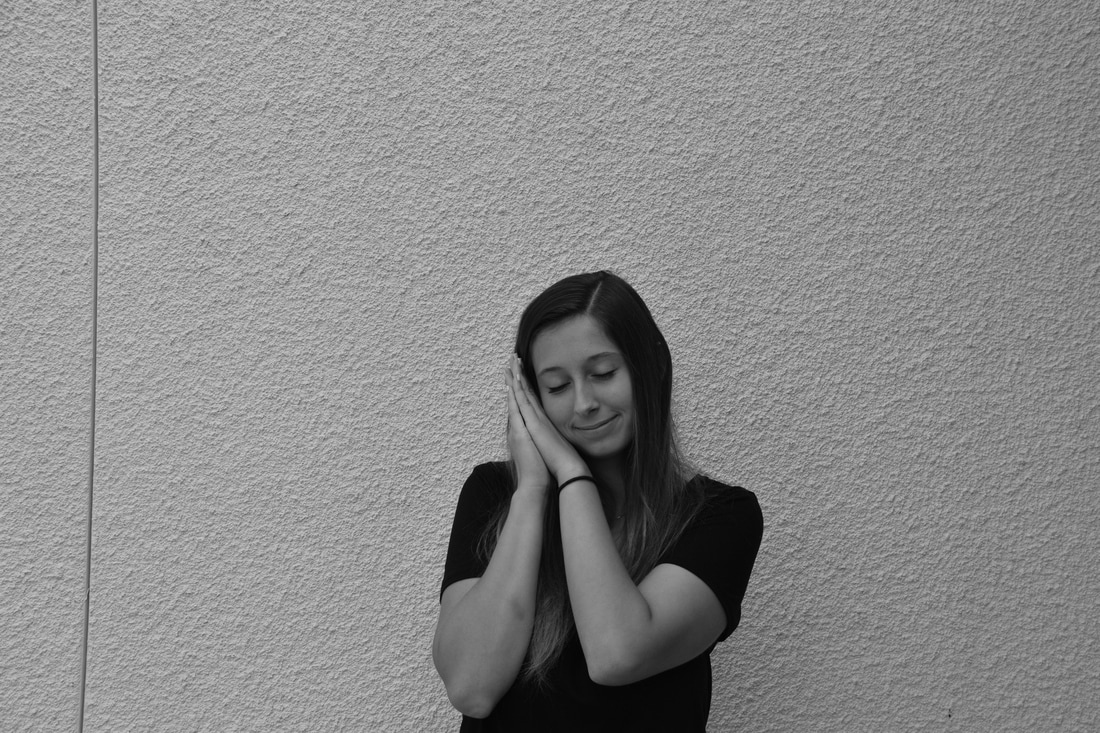
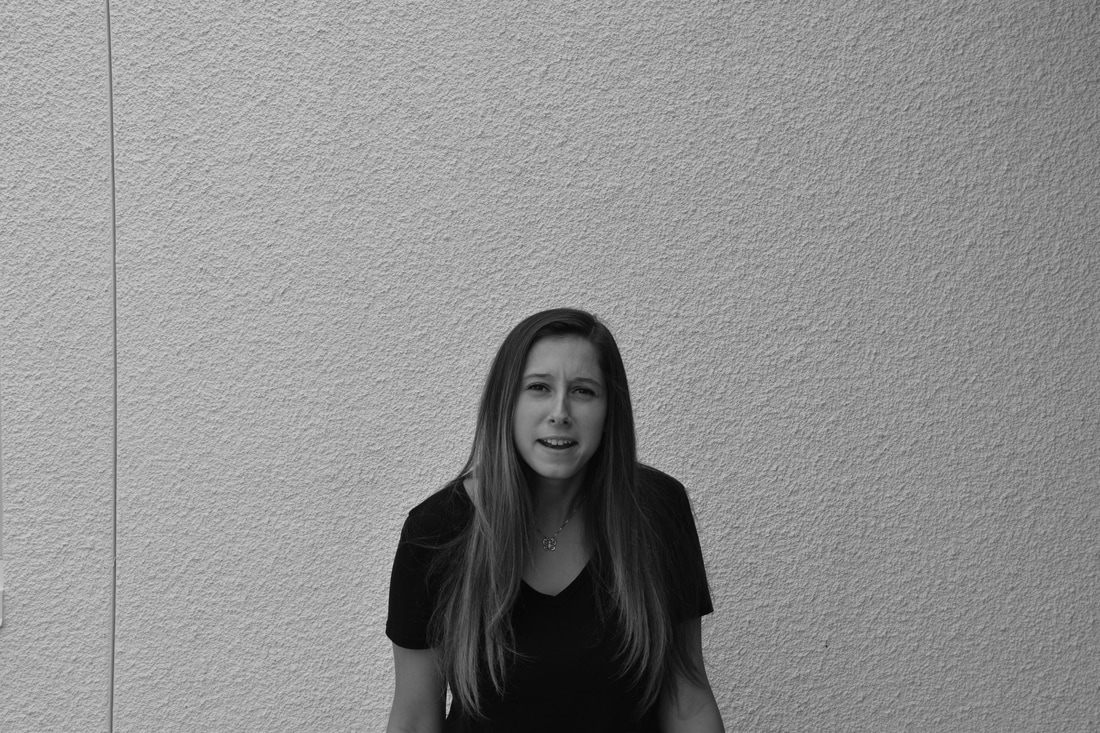
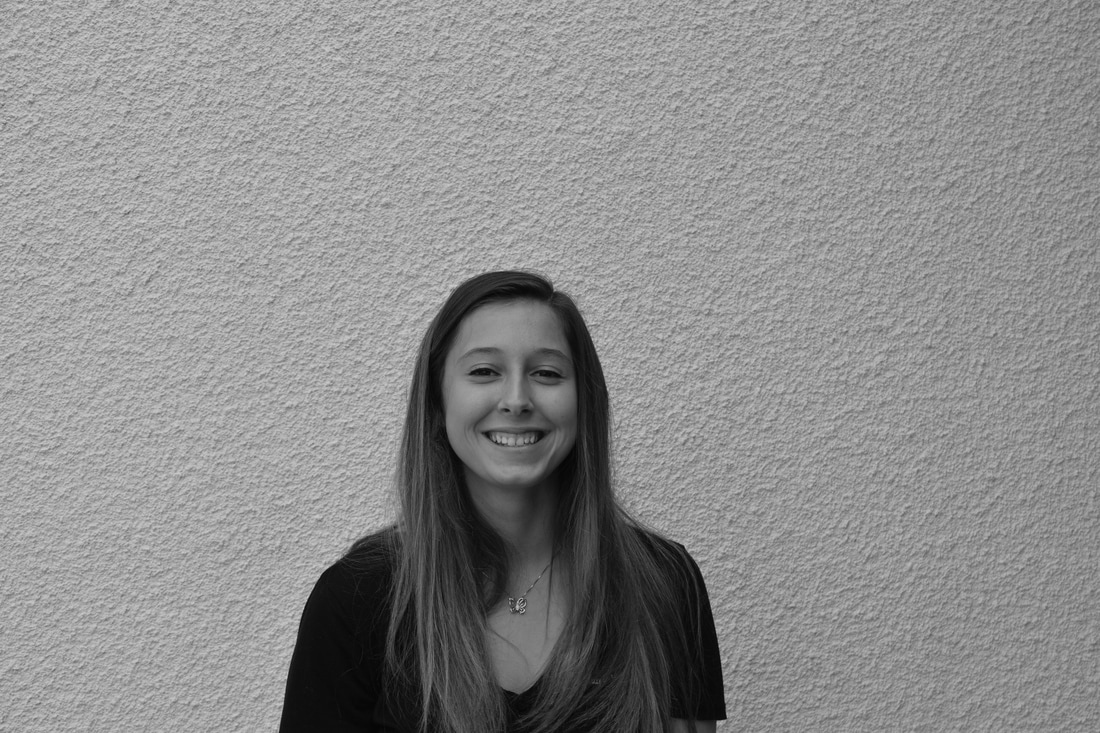
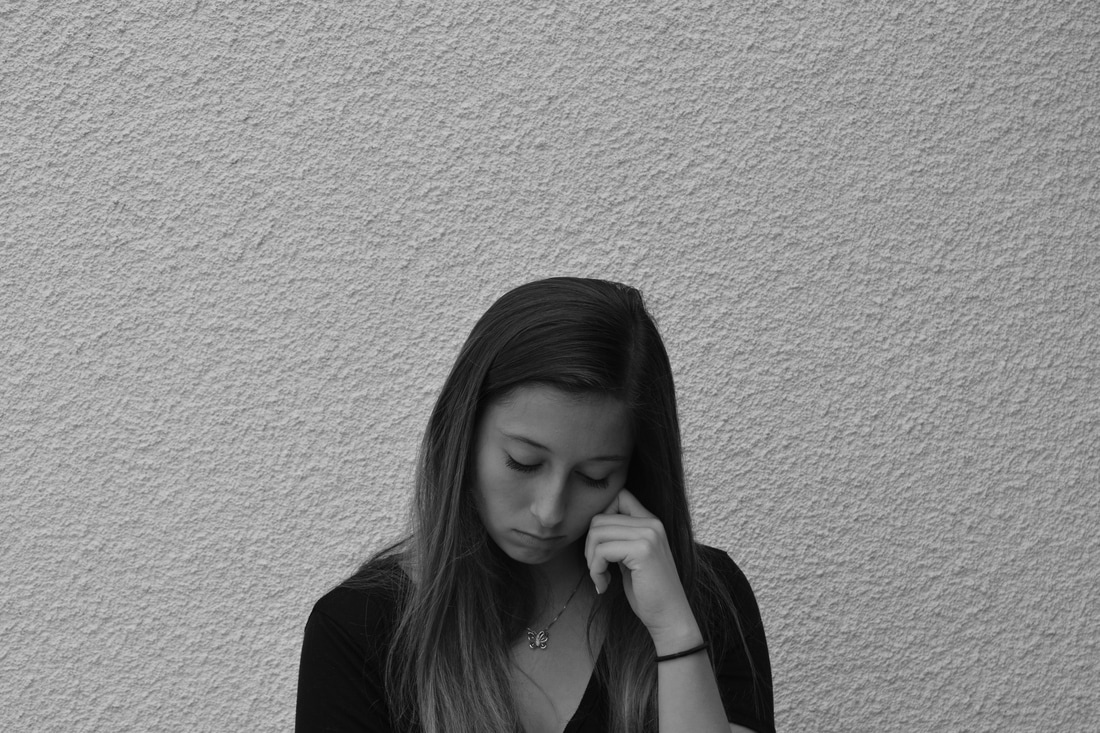
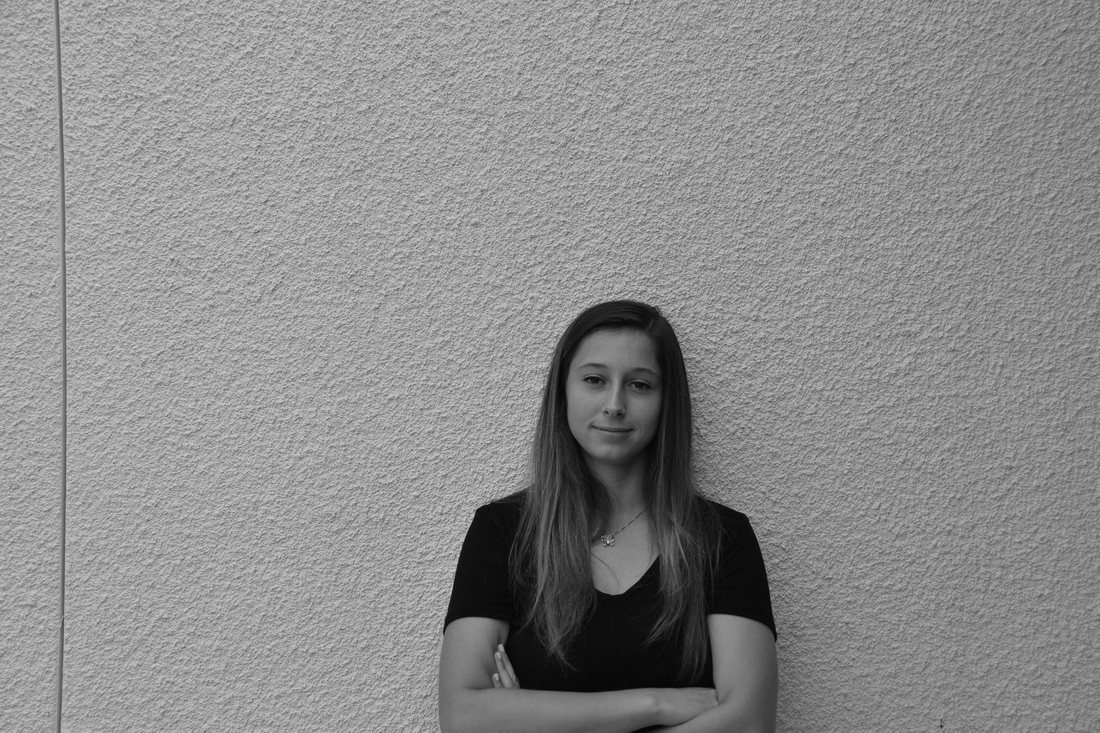
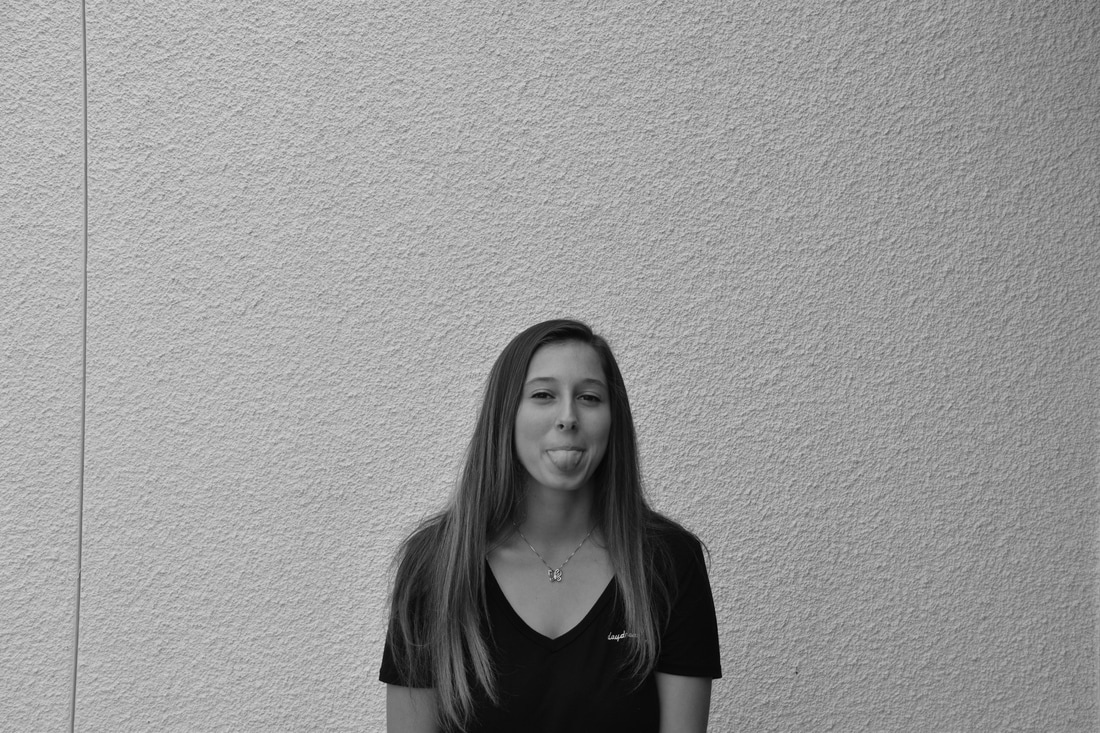
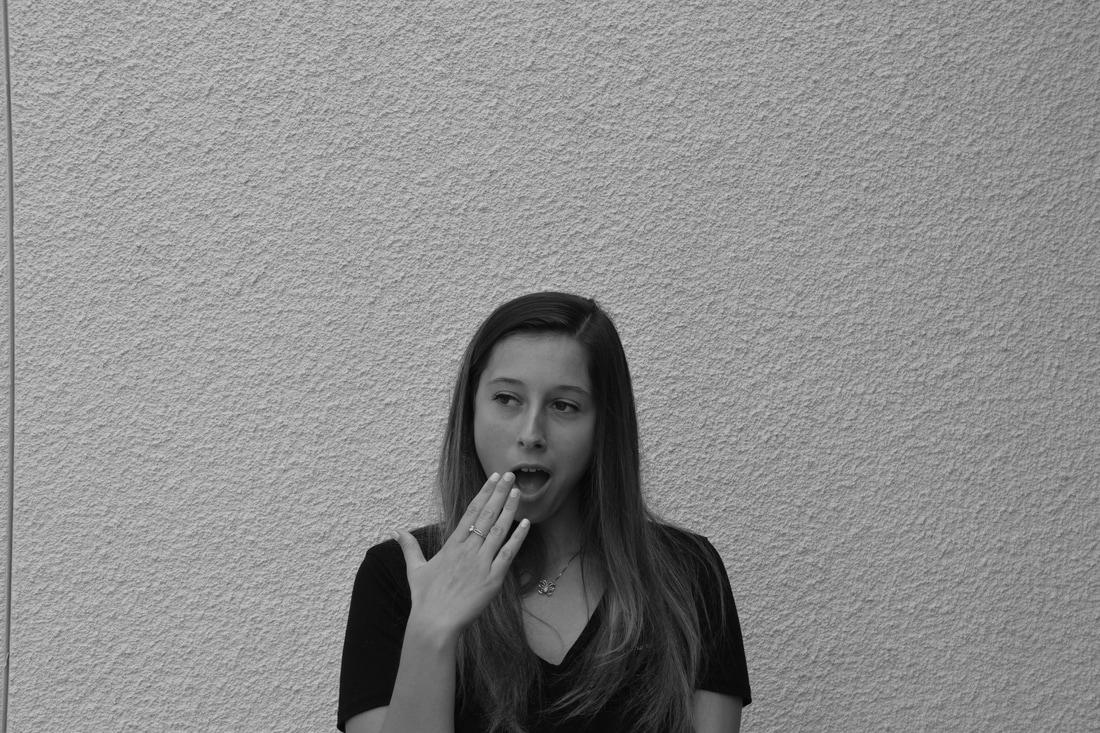
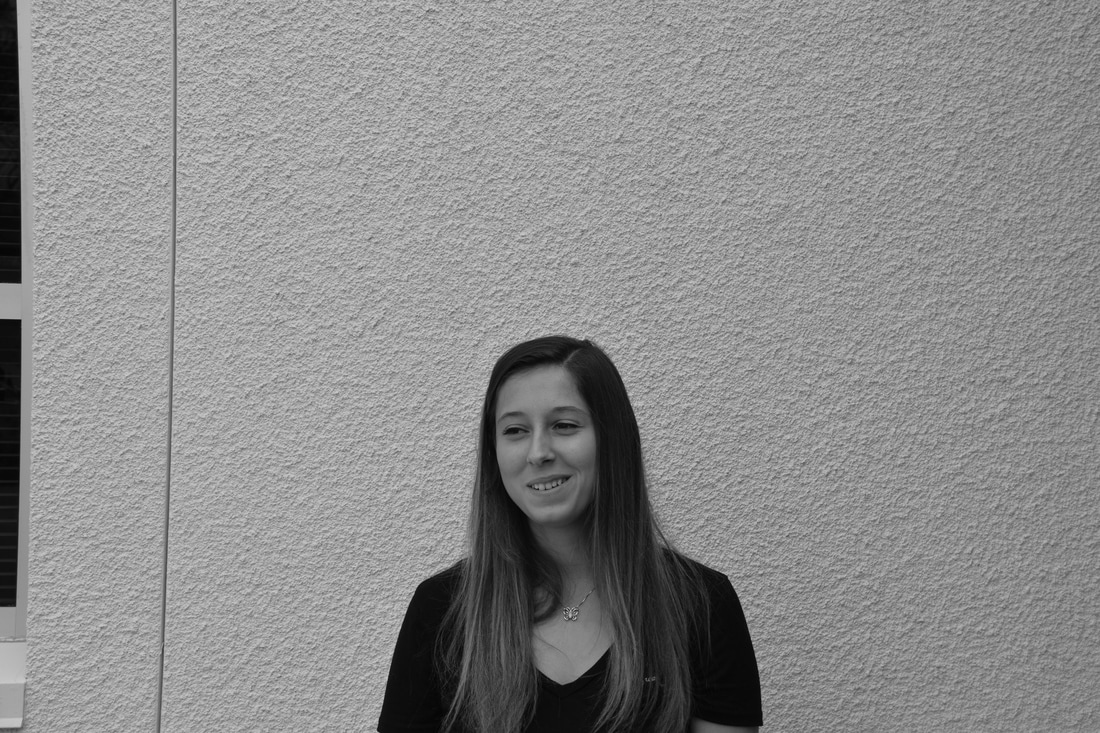
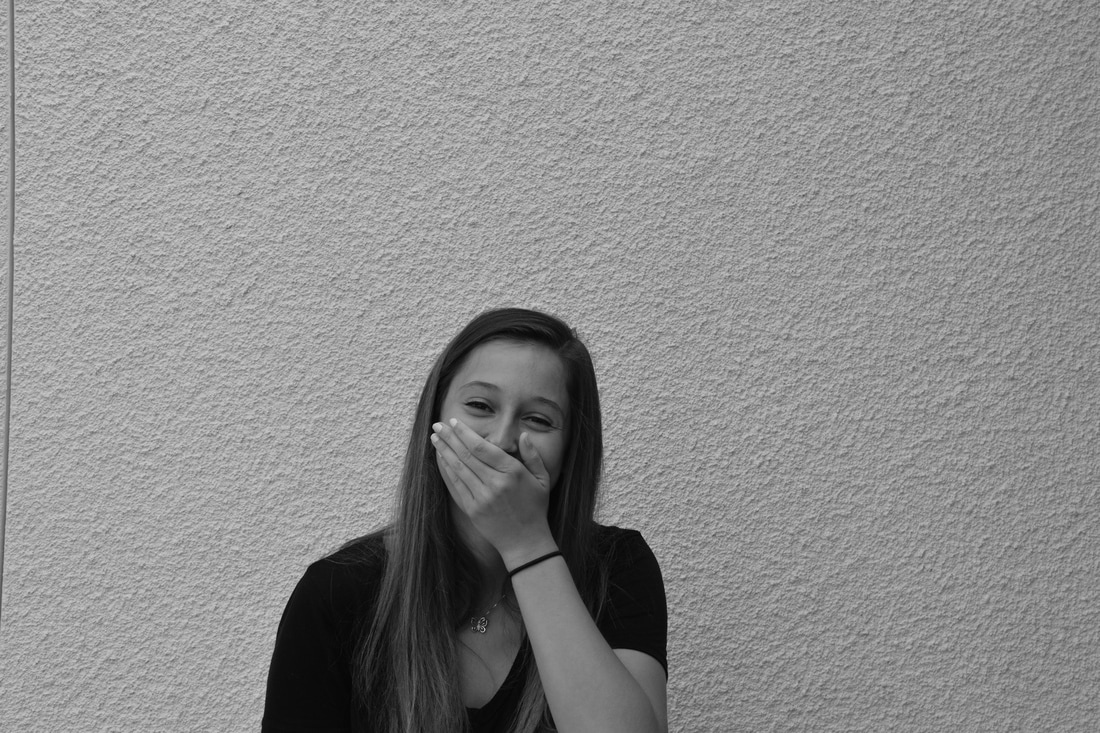
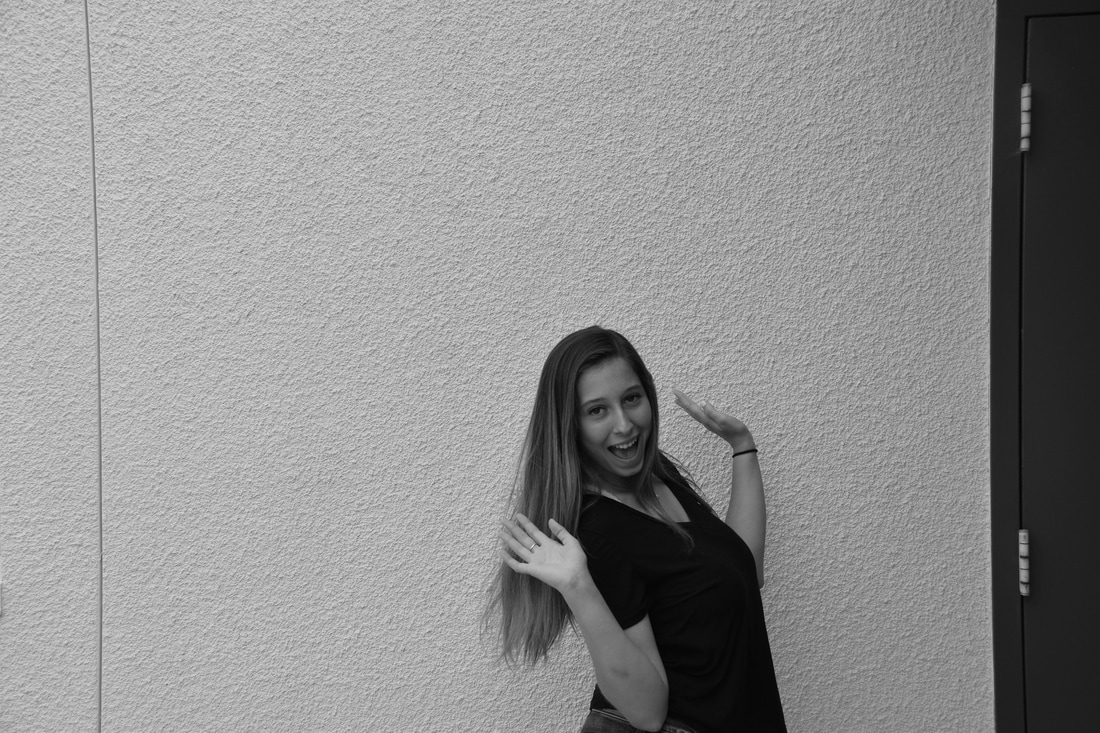
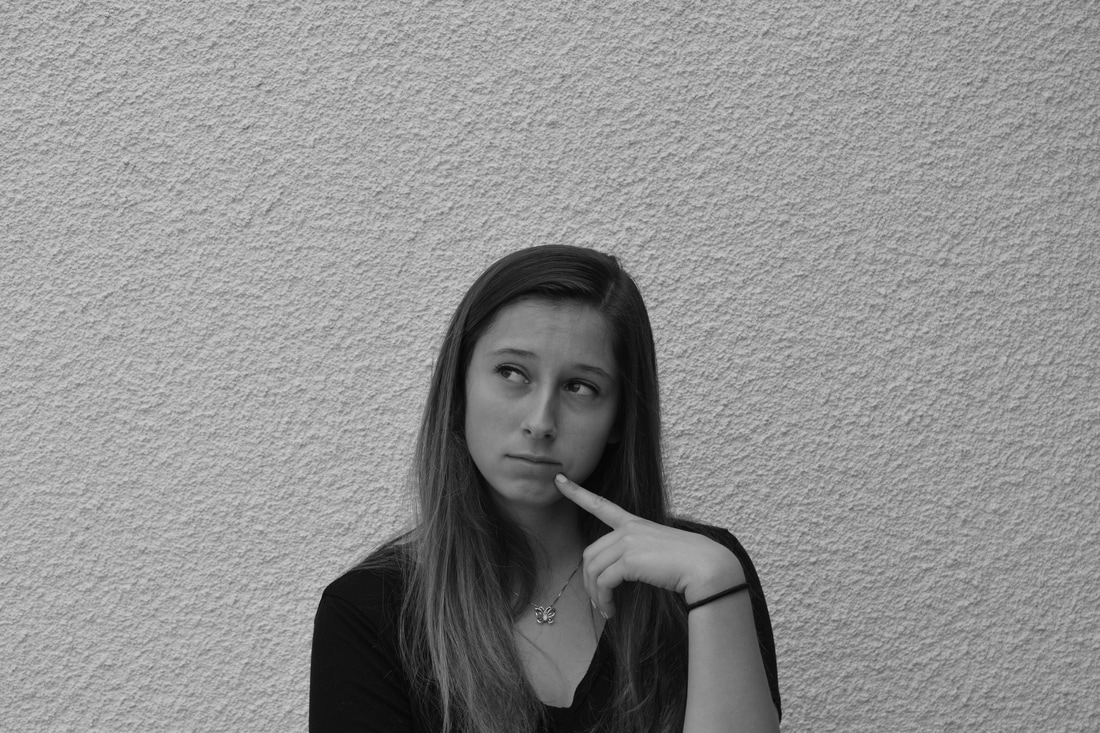
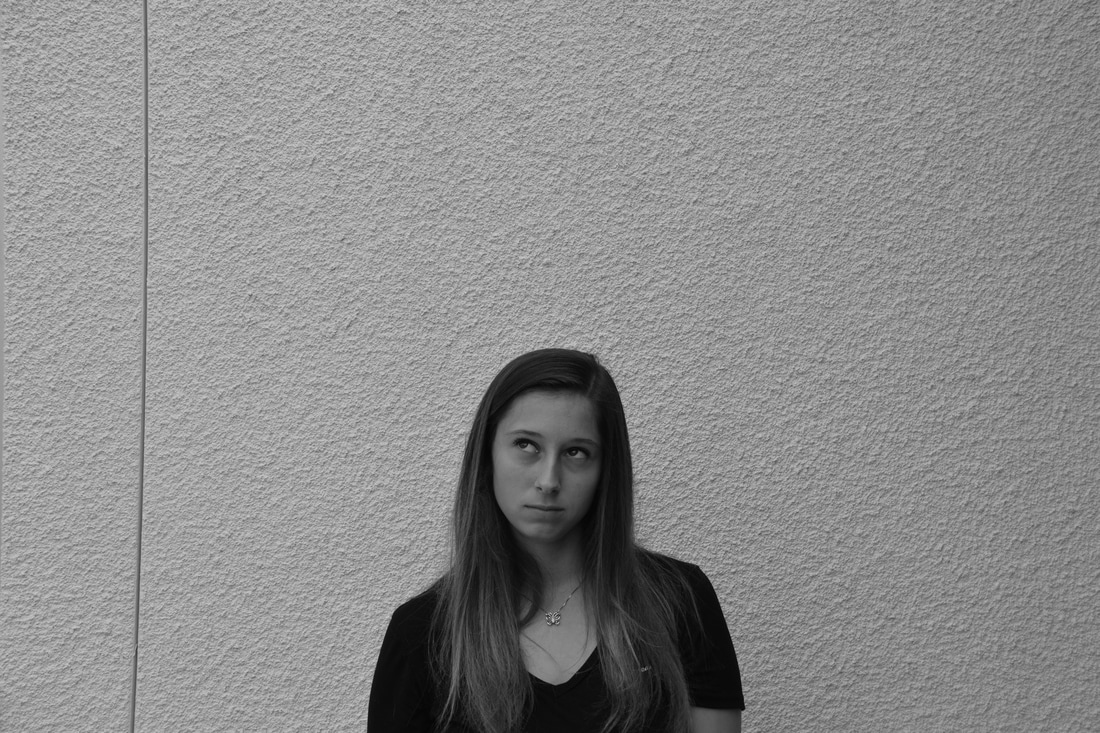
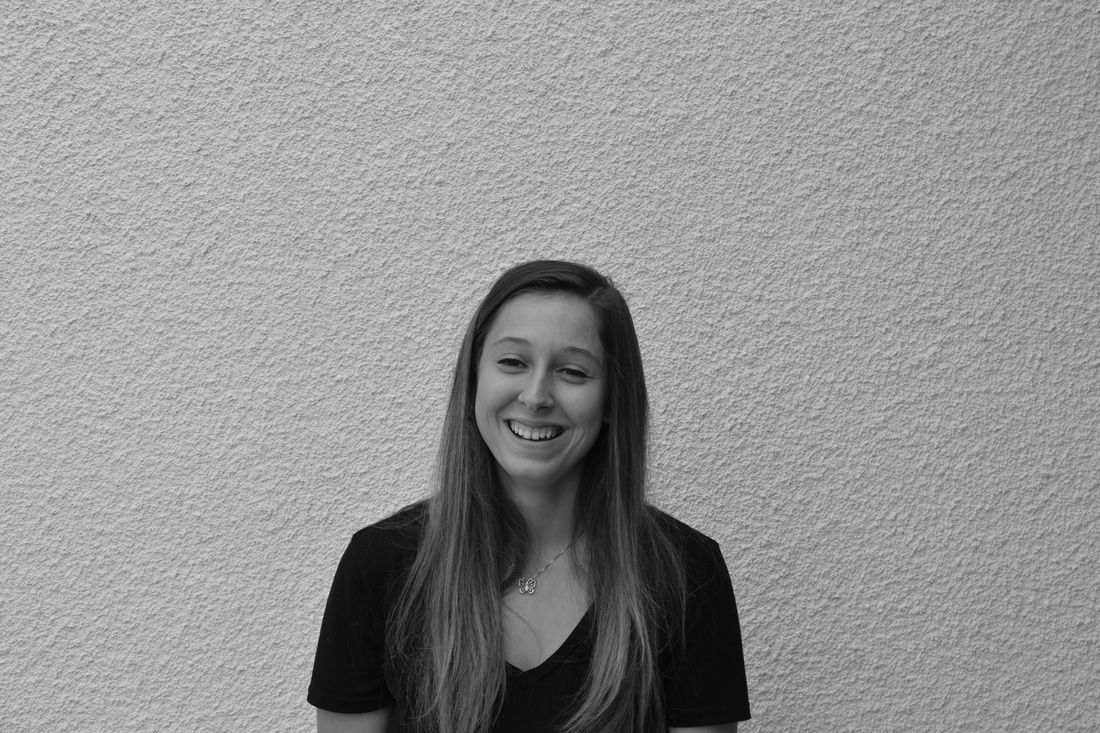
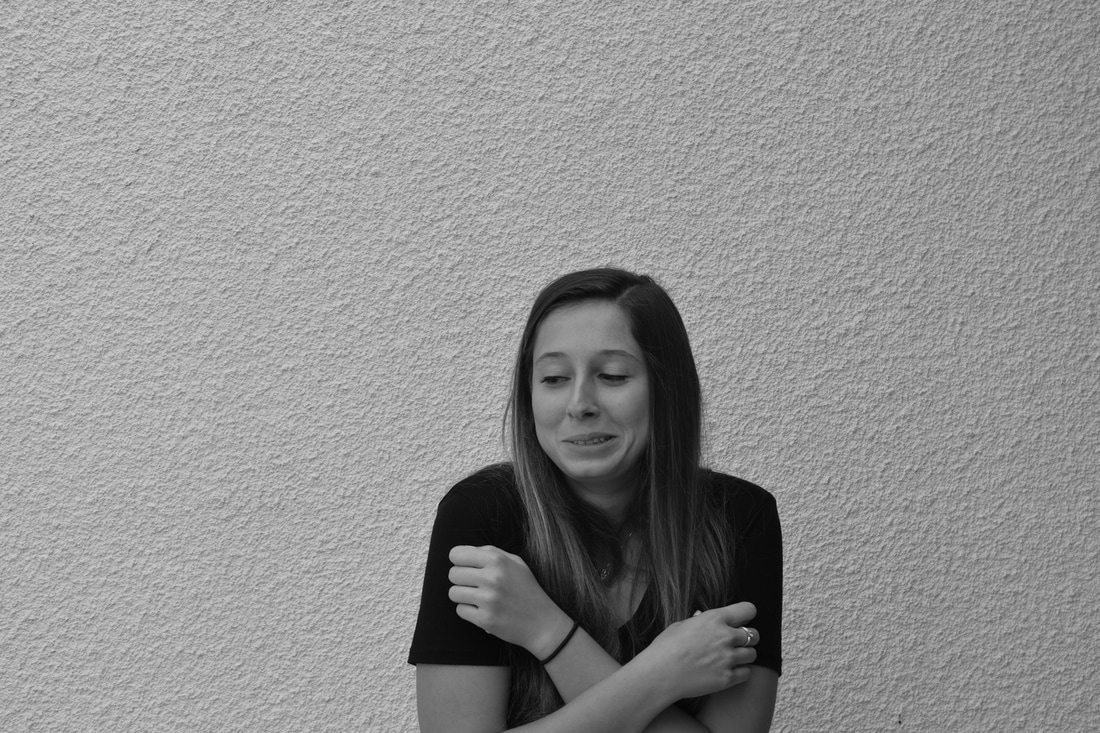
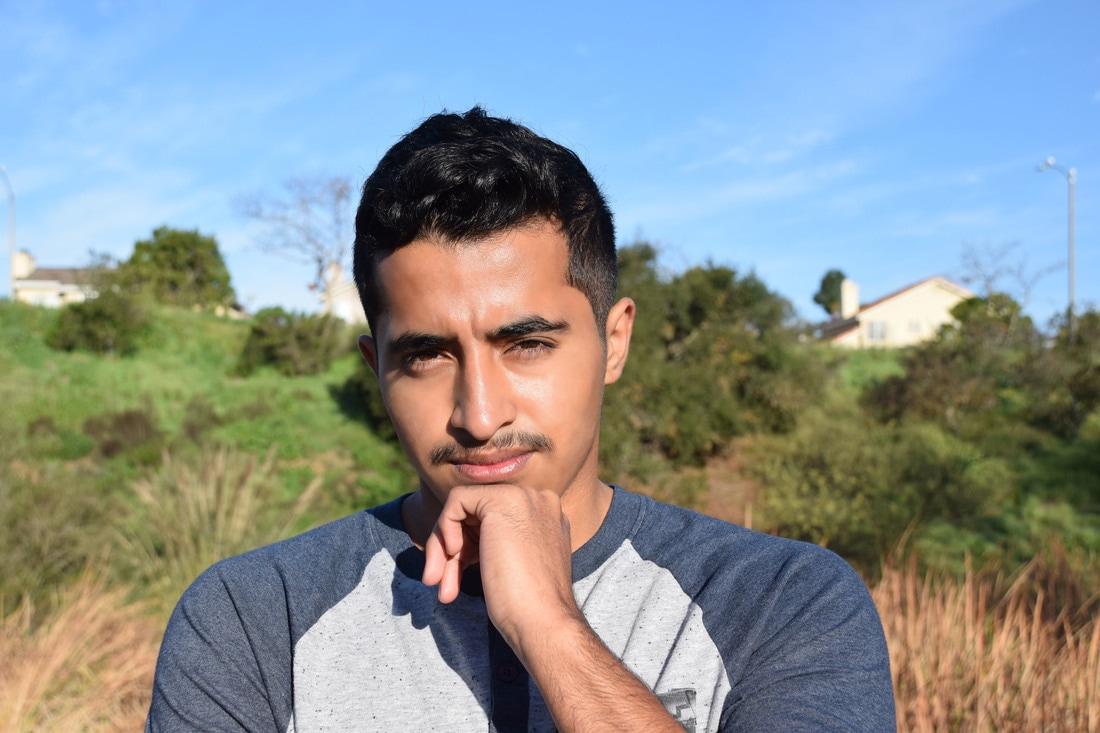
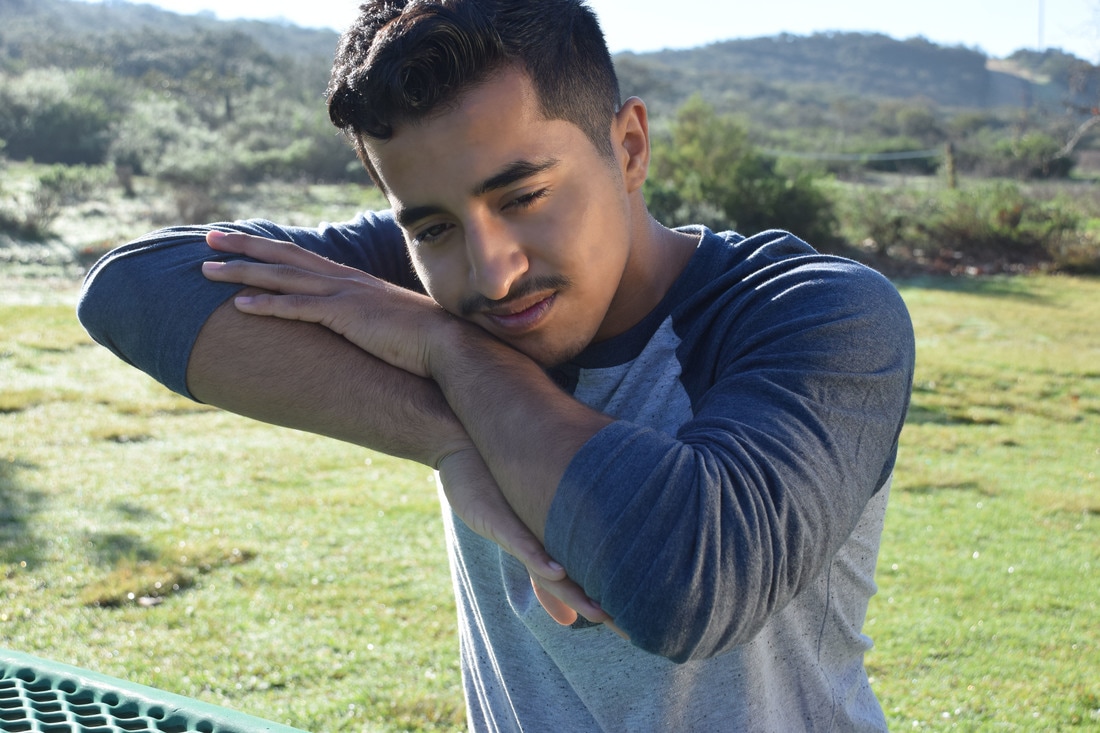
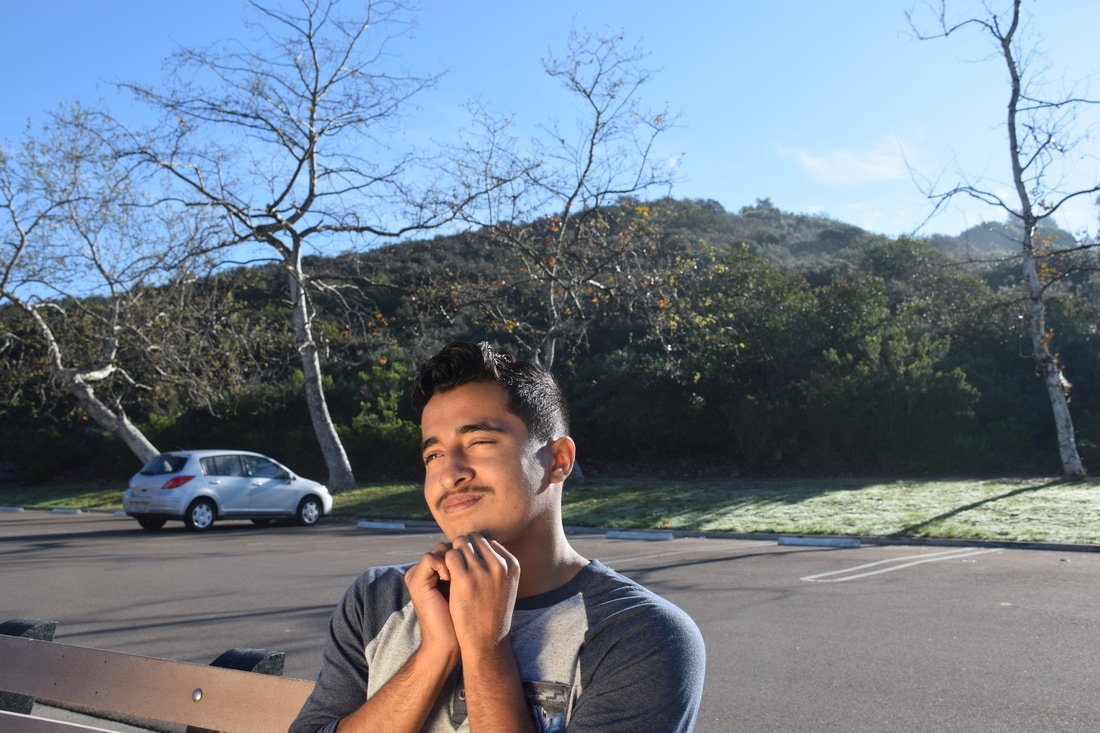
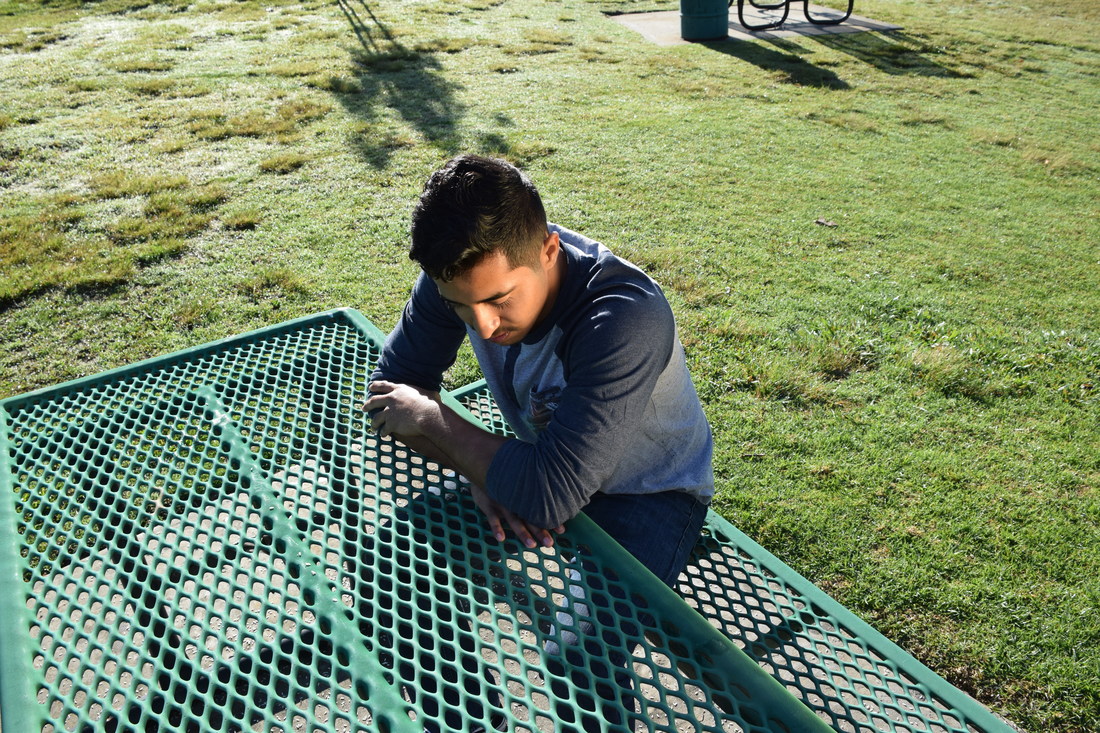
Mood Portraits
|
|
|
|
Composite Project of "Get You"- Daniel Caesar
Before
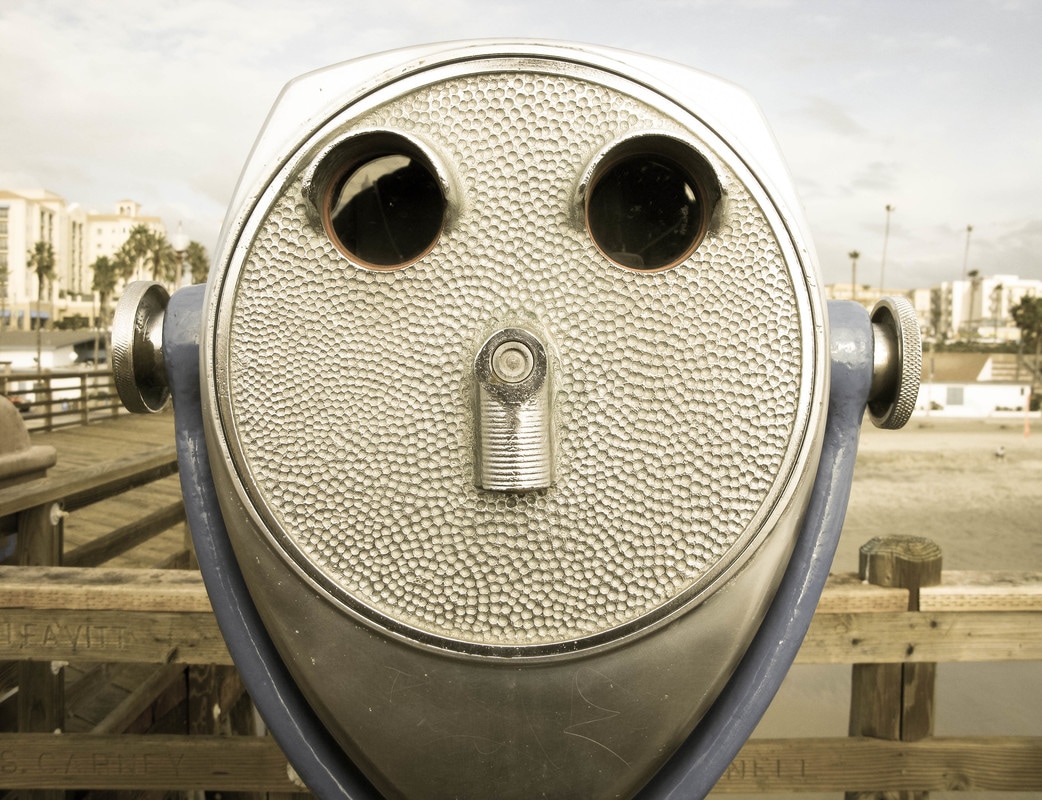
After
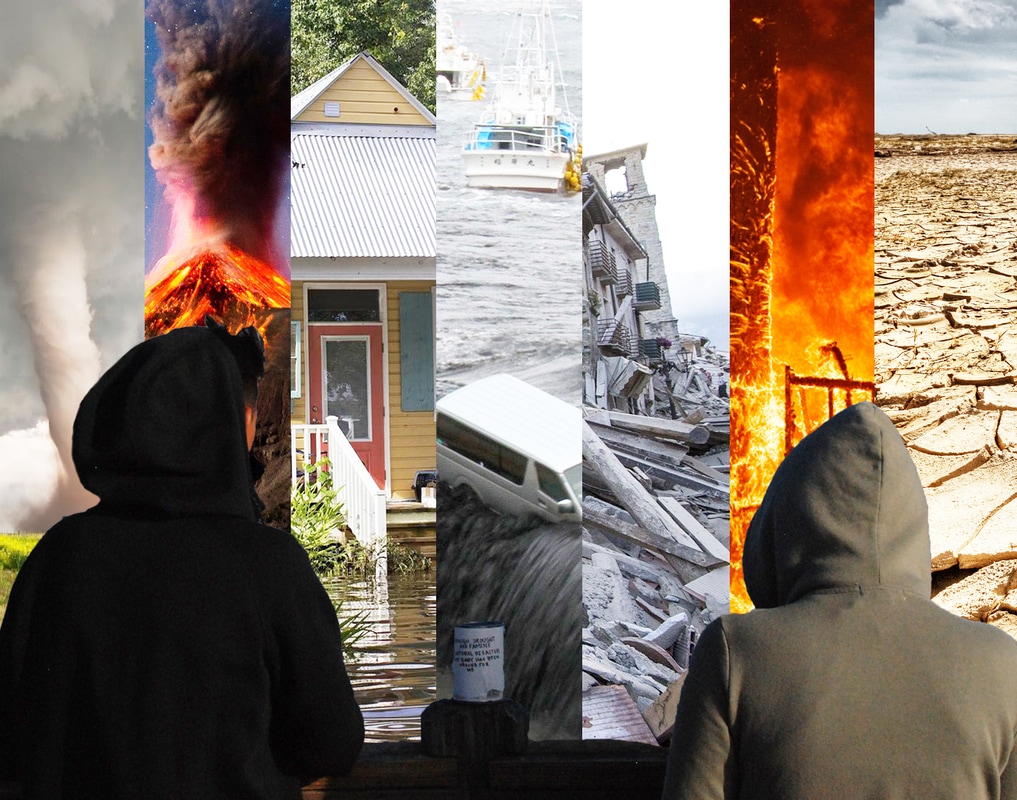
This project is based on the verse of "Get You" by Daniel Caesar which says "Through drought and famine, naturals disasters, my baby has been around for me". The order of disasters from left to right is tornadoes, volcanic eruptions, floods, tsunamis, earthquakes, wildfires, and drought. In order to get this finished piece, I had to use the quick selection tool in order to get the two people out of another picture and on to this one. After, I used the ruler tool in order to split the picture vertically evenly. I found 7 pictures of natural disasters on google and I found the part in each picture that best depicts the disaster. I then cut the rest of each picture out so that only the certain part would fit in the designated area. Then, I placed the pictures so that each disaster could be easily seen (i.e. you wouldn't be able to see the flood if it was behind someone's body). Lastly, I used the layer mask in order to clean up anything extra that was accidentally picked up by the quick selection tool.
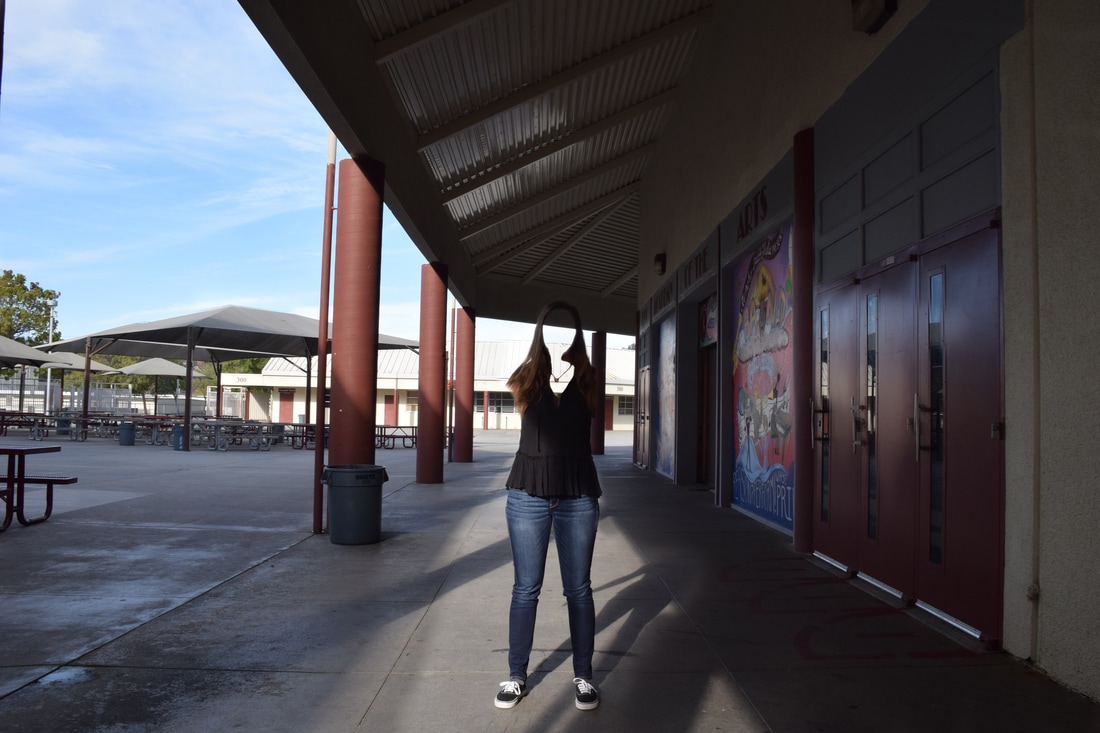
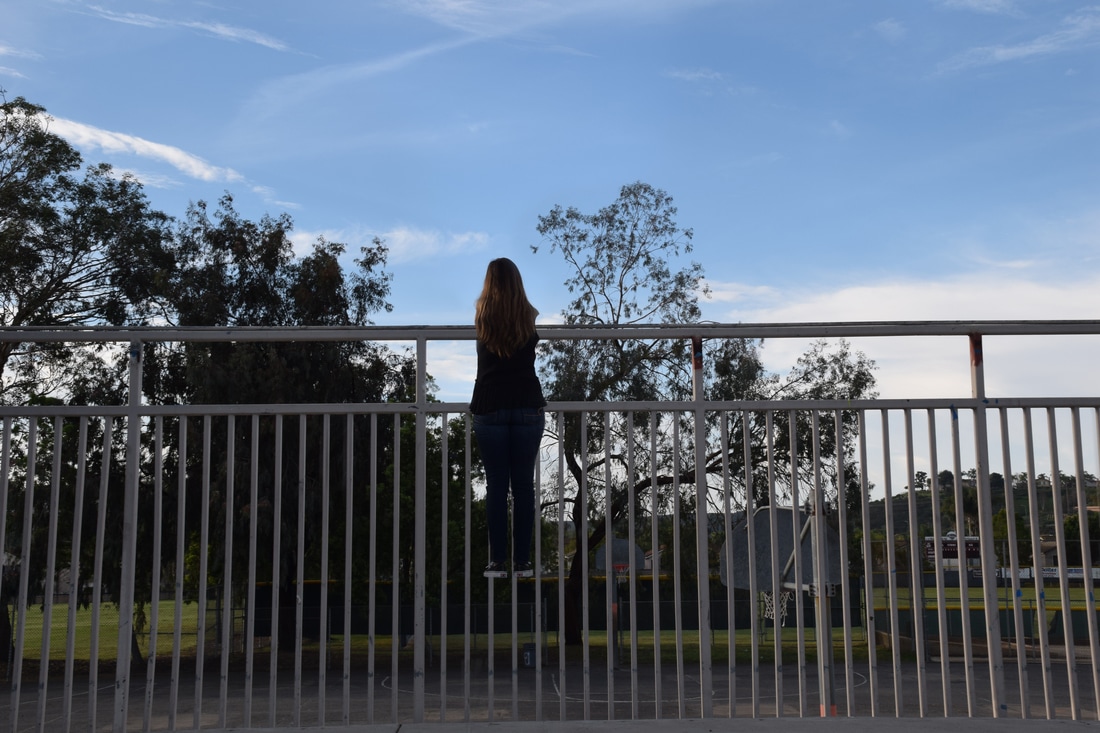
Invisible
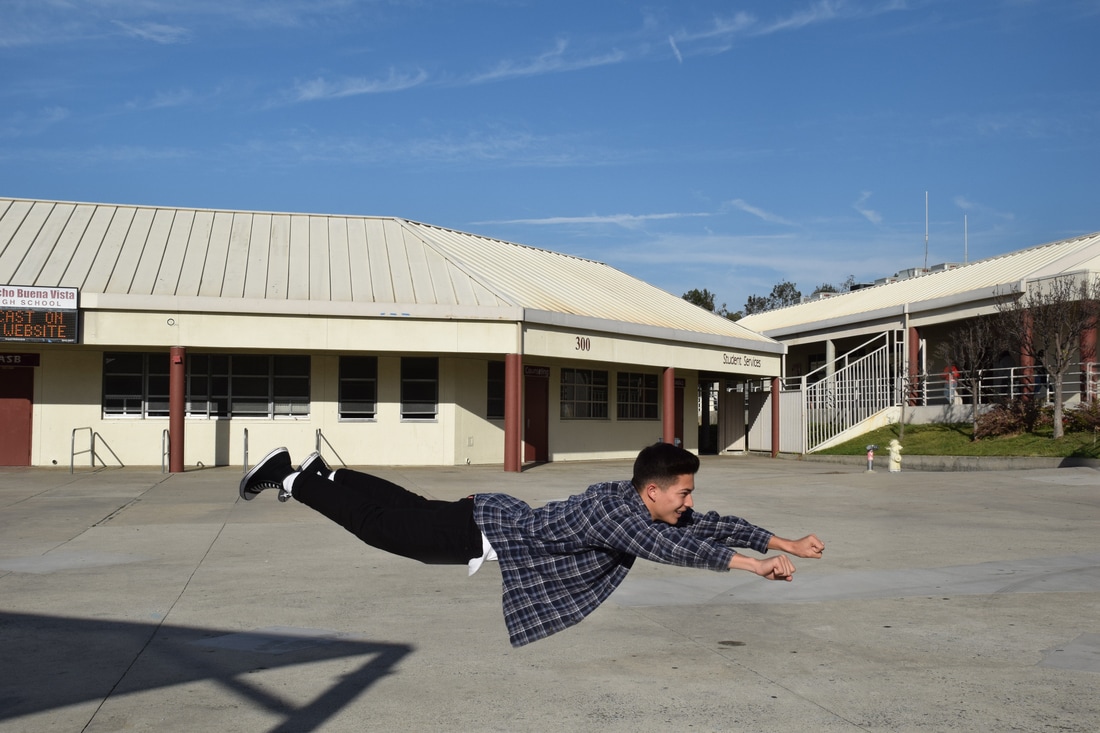
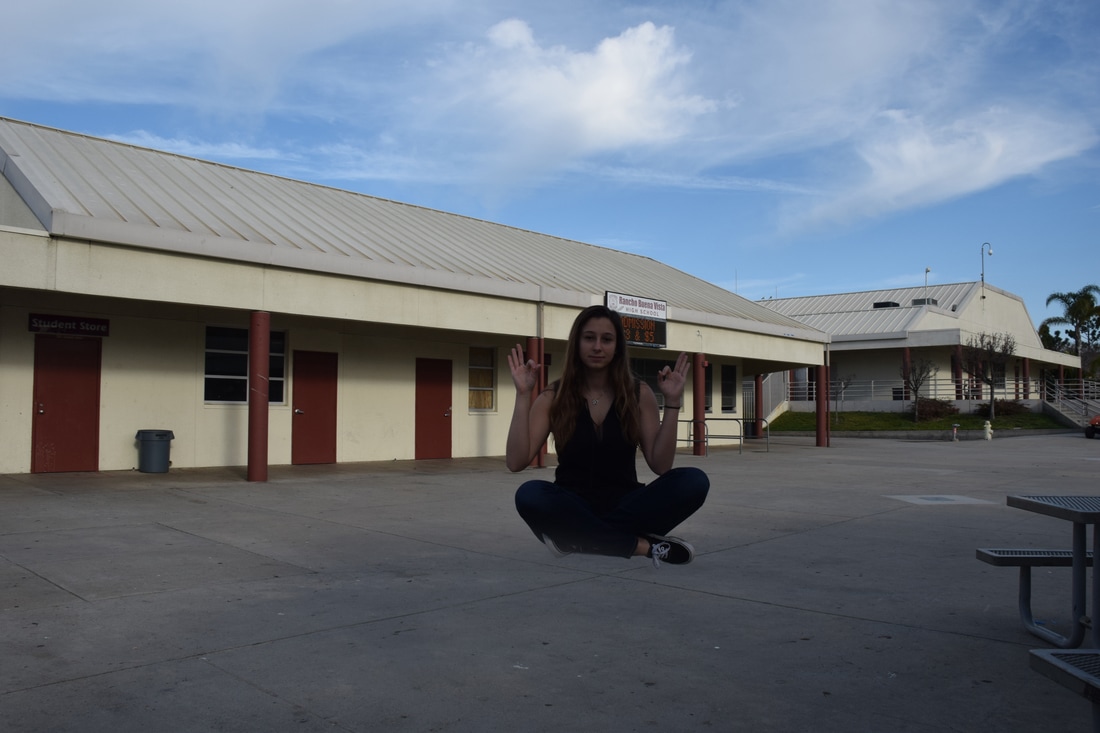
Flying
Mandalas
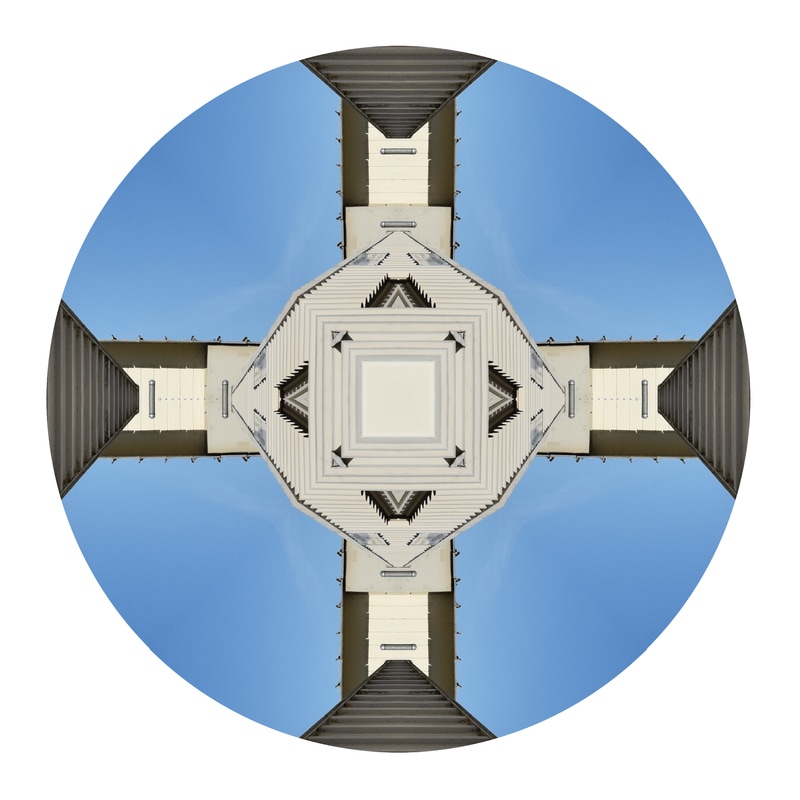
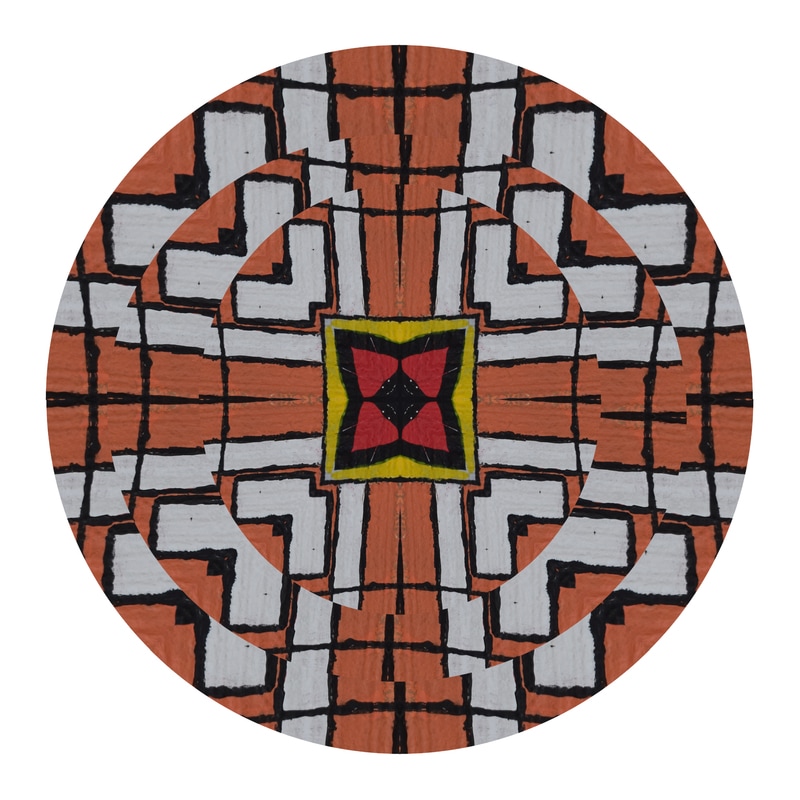
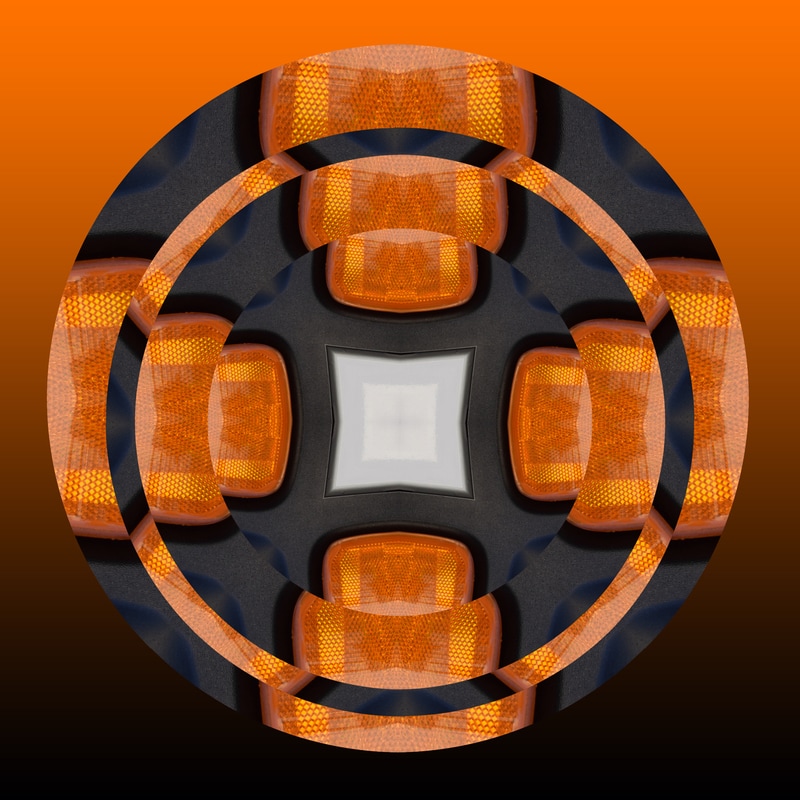
What Mandala means to me is the duplication of a certain part of a picture that doesn't receive the attention it deserves which is then formed to make something beautiful. In order to form these mandalas, I started out with going around Rancho Buena Vista High School and taking pictures of items or works of art that were the colors of the rainbow. After I was finished taking pictures, I uploaded my pictures. Then, I began using a circle template which was split into multiple pie shaped slices. Then, I used the magic wand tool in photoshop and took the outline of one of the pie shapes. After this, I put the pie shaped template over a certain part of a picture that I wanted to use. After I took the part I wanted, I used the "move tool" and brought it back to the template. I then duplicated the picture, flipped it, rotated it, and then placed it next to the first so it would form a shape. I then joined both layers together and flipped it again so it would form a shape. After that, I conjoined these 2 layers together again and then duplicated it, and flipped it to make the full circle. What I liked about this project was how the simplicity of it resulted in a beautiful result. My favorite picture was the middle mandala. What I struggled with the most was lining up the picture in the mandala template. If I were to do this again, the only thing I would change was what I took pictures of for the project.
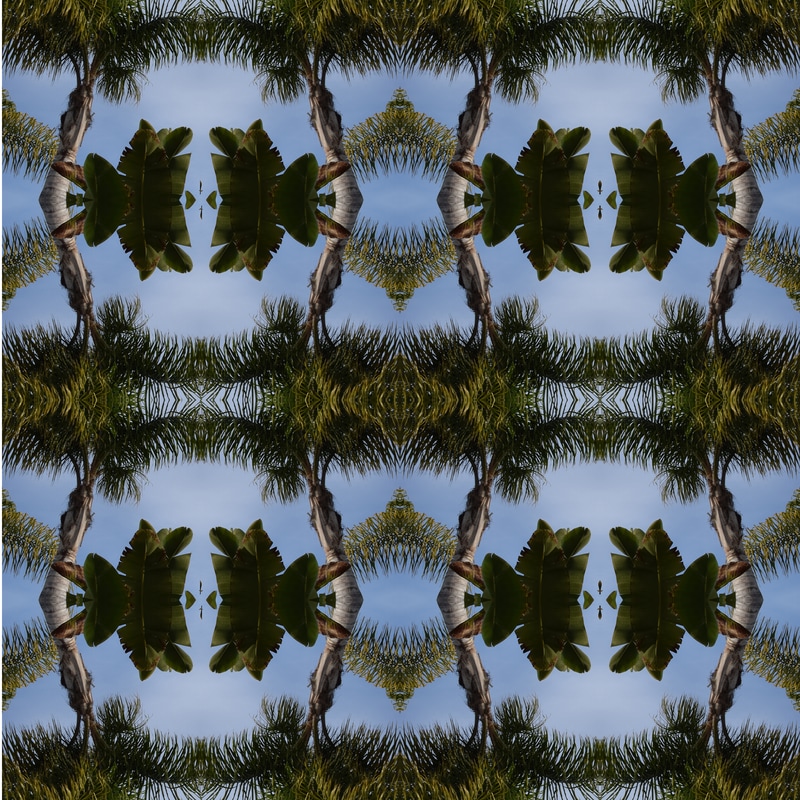
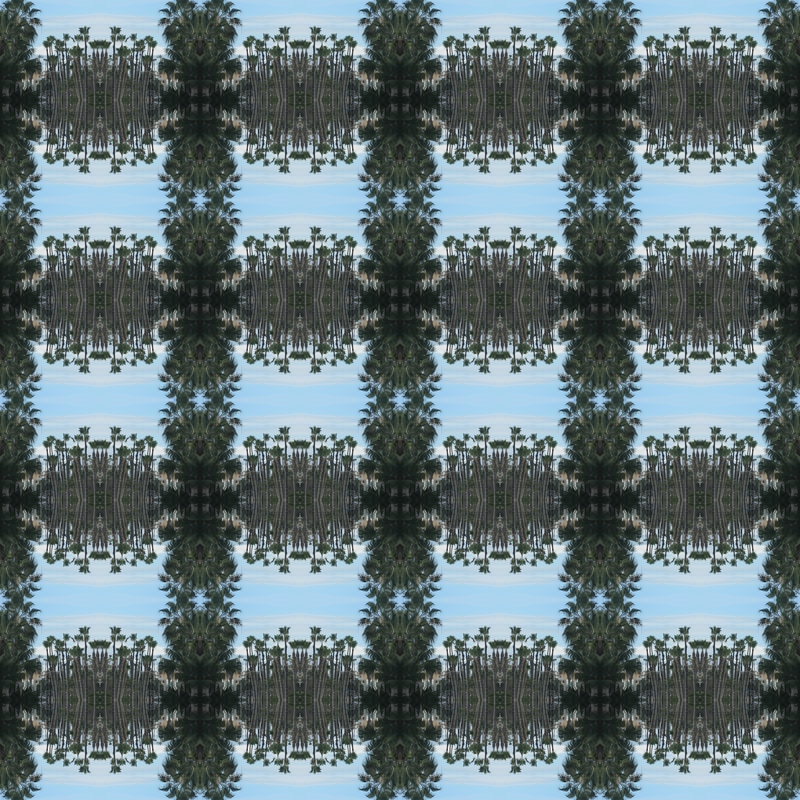
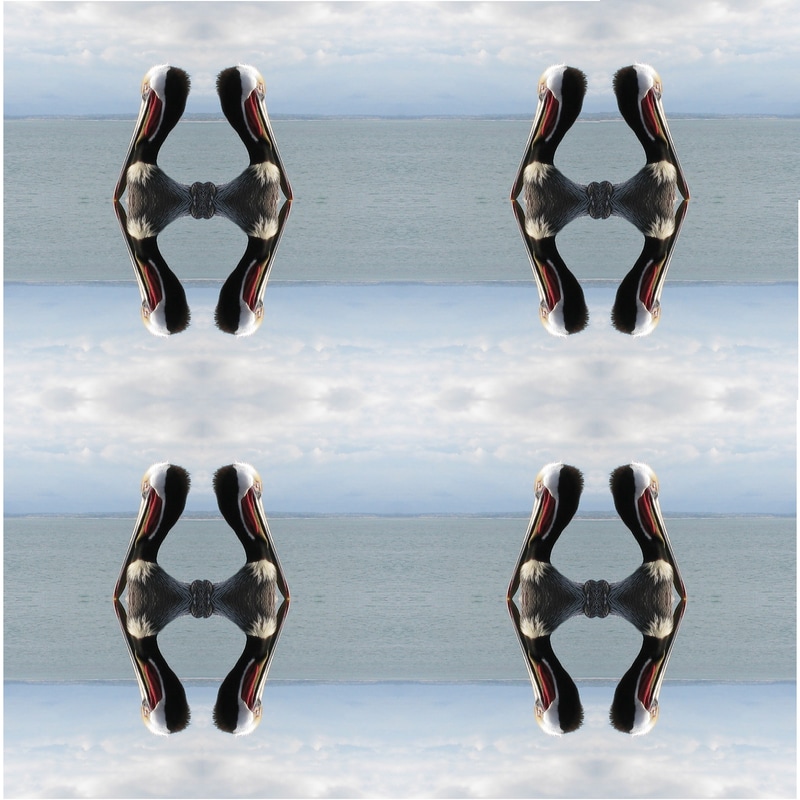
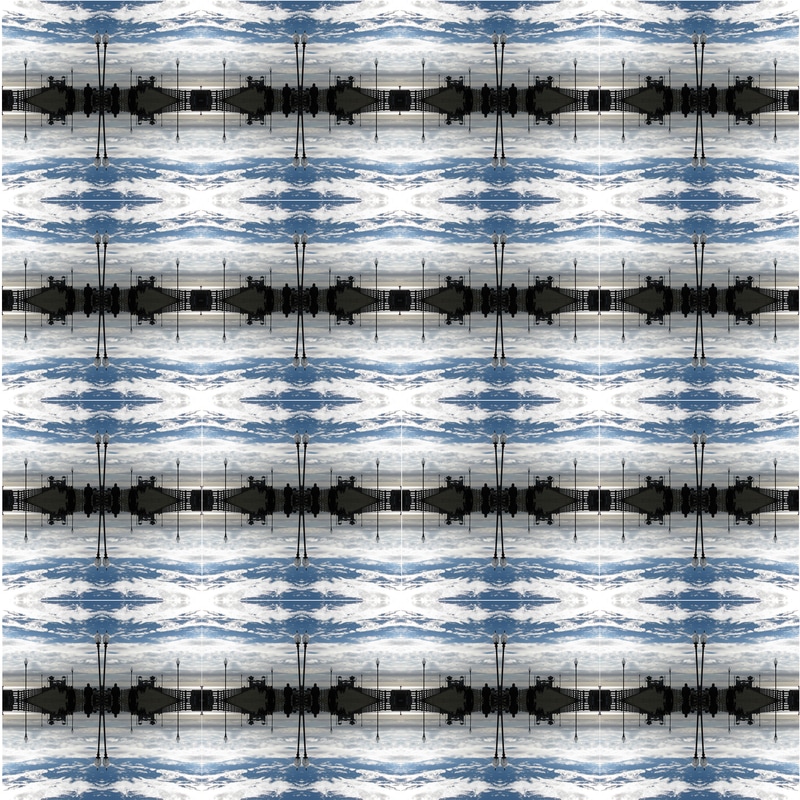
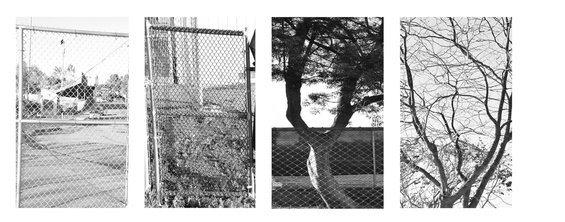
Tessellations

|

|
|
A tessellation is a picture duplicated many times and rearranged both vertically and horizontally in order to create a geometric pattern in the center. In order to create these, I used photoshop. In photoshop, I used rulers to set guidelines for where each picture will go. I made a 4 inch template, 2 inch template, and 1 inch template. Then, I cropped a part of a picture that I liked in which I then measured to fit the size of the guidelines. After that, I duplicated the picture 3 times and put each of them in one of the four squares. Then, I flipped them either horizontally, vertically, or both depending on where they were. After that I repeated process as many times as it took to fill in the entire frame. Lastly, i made sure there were no white lines that could possibly ruin the illusion. What I liked most about this project was the results I received from each tessellation. My favorite one was the 1 inch tessellation of the palm trees. What I struggled the most with was fixing the white lines that were formed. If I were to do this all over again, what I'd do differently is that I would find places within pictures that would form more complex, but better tessellations.
Portraiture
ISO 800, F8
ISO 800, F8
ISO 800, F8
ISO 800, F8
ISO 800, F8
ISO 800, F8
What I learned about portraiture while taking pictures at the dunk pond is that it's a bad idea to try and take pictures facing the sun and reflectors are extremely helpful. To decide on poses I used a paper which displayed very popular poses that photographers have their models use. It was helpful because without it, there wouldn't have been nearly as many poses I would've used. I used the reflectors in order to get more light in places where it wasn't bright enough to get an aesthetic portrait. It was very useful and it made the model look much better in that they had much better lighting. In order to retouch these photos, I had to use the "quick selection tool" in order circle around the model's face and then I made a layer mask out of it. Then, I blurred out any pores that were visible using the "blur tool", and lastly, I erased all the extra marks like acne using the "spot healing brush". Some positions that use portrait photography are wedding photographer, new born photographer, and school portrait photographer. Companies who deal with taking pictures for events and more hire them. The average salary for a wedding photographer is $203,000. The average salary for a new born photographer is 31,750. Lastly, the annual salary for a school portrait photographer is $32,000.
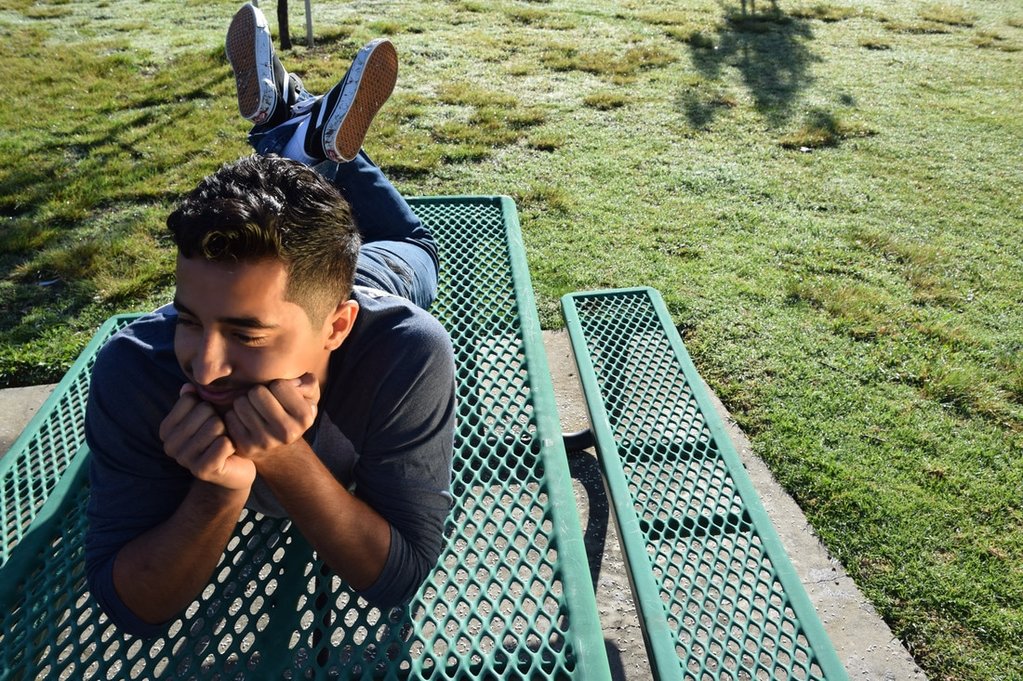
Art Contest
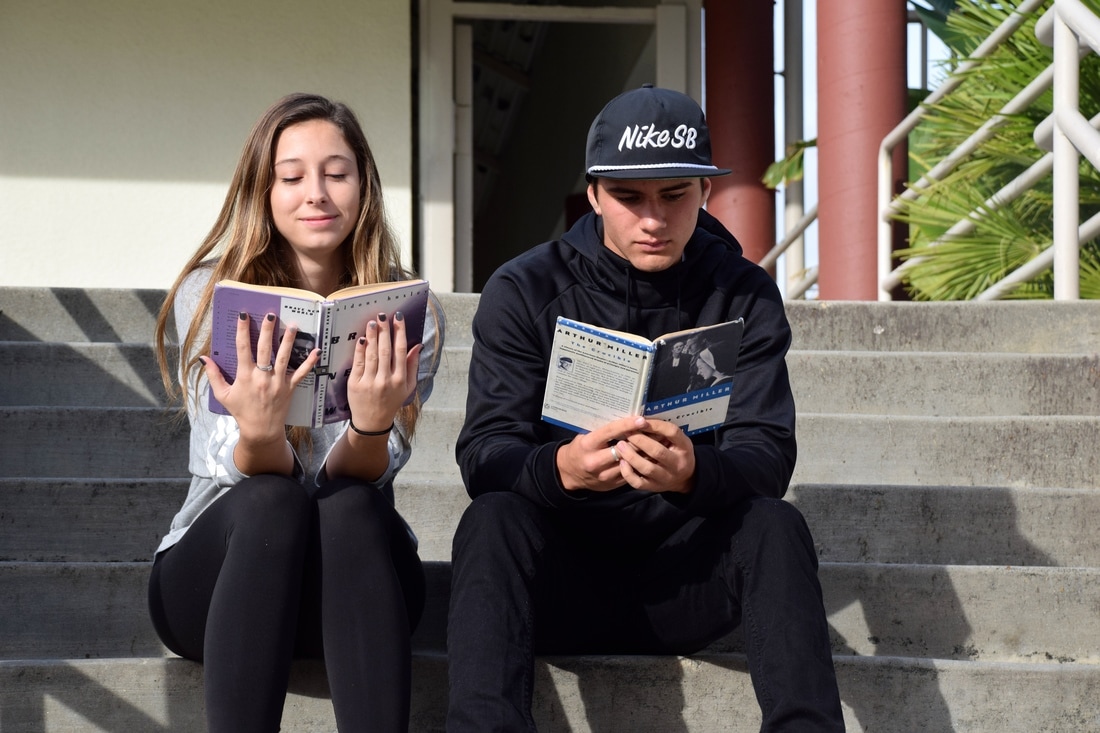
In this picture you can see a boy and a girl who are close with each other. They could have been doing other activities like being on their phones or talking to each other. Instead, they have decided that studying for their classes and making the most out of their education is what’s truly important. If you haven’t noticed the hidden message behind this, it’s that relationships can wait and people need to focus on what’s more important. It’s vital that people, especially teenagers, know how to set their priorities straight. It’s important they do because they have an opportunity to set an example for younger students and to send a message to elders. That message being that if teens temptations within their relationships can wait even with their lack of self-control, then adults can wait too and get what they need to done so that they can live life to the fullest.
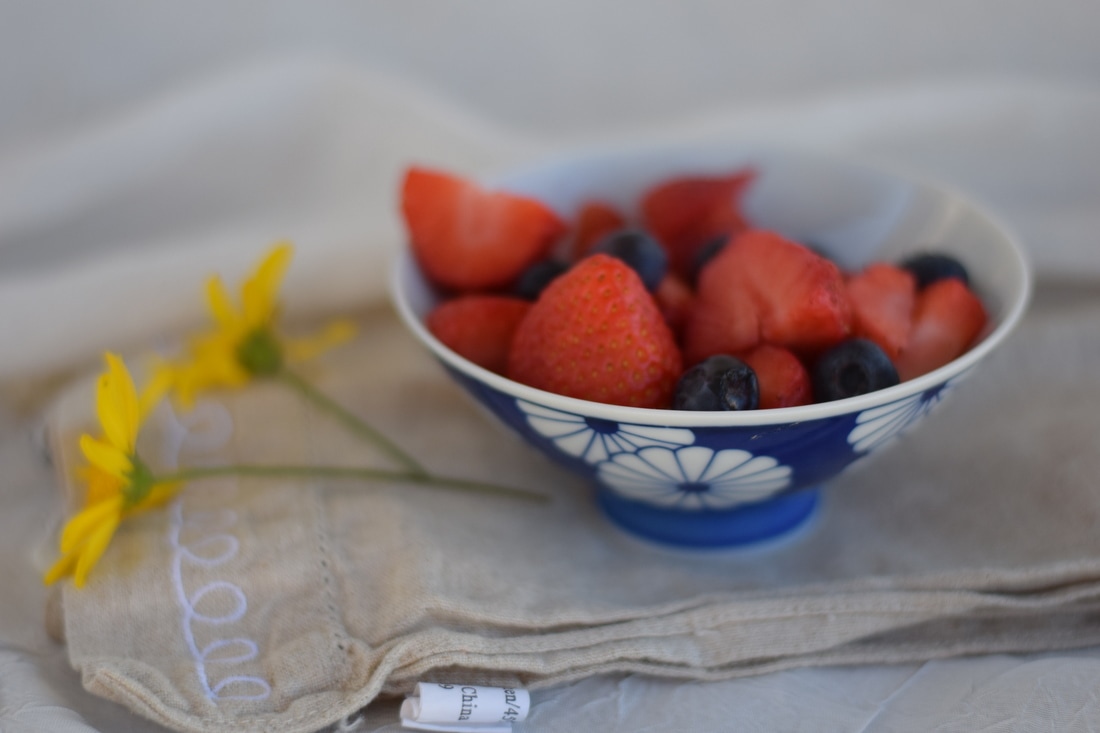
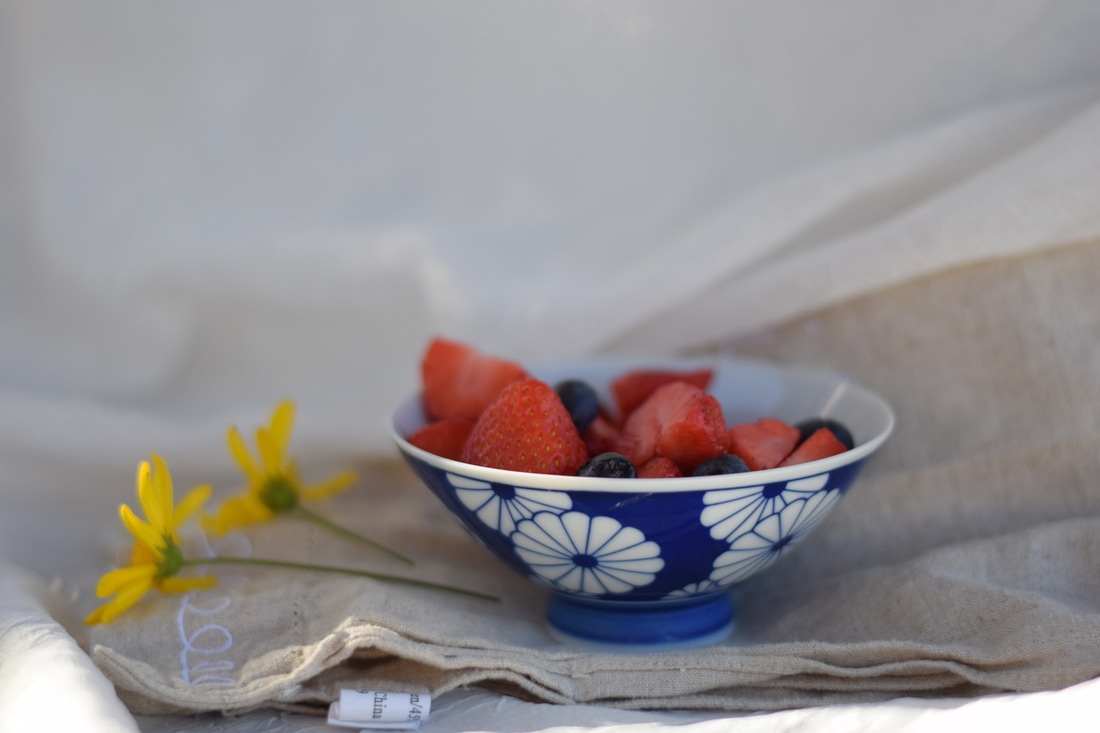
Food Project
|
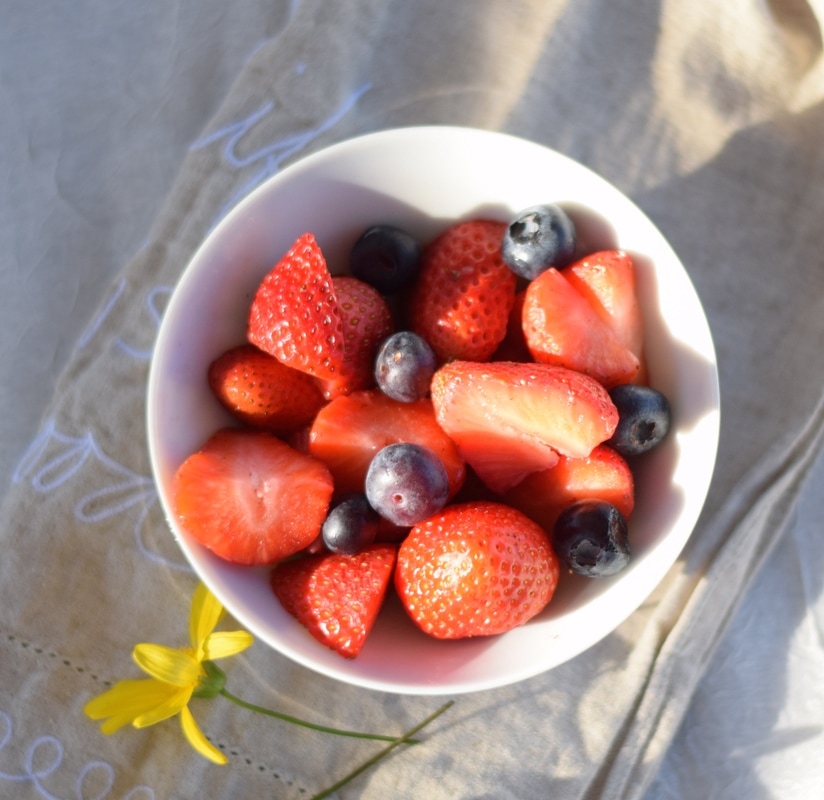
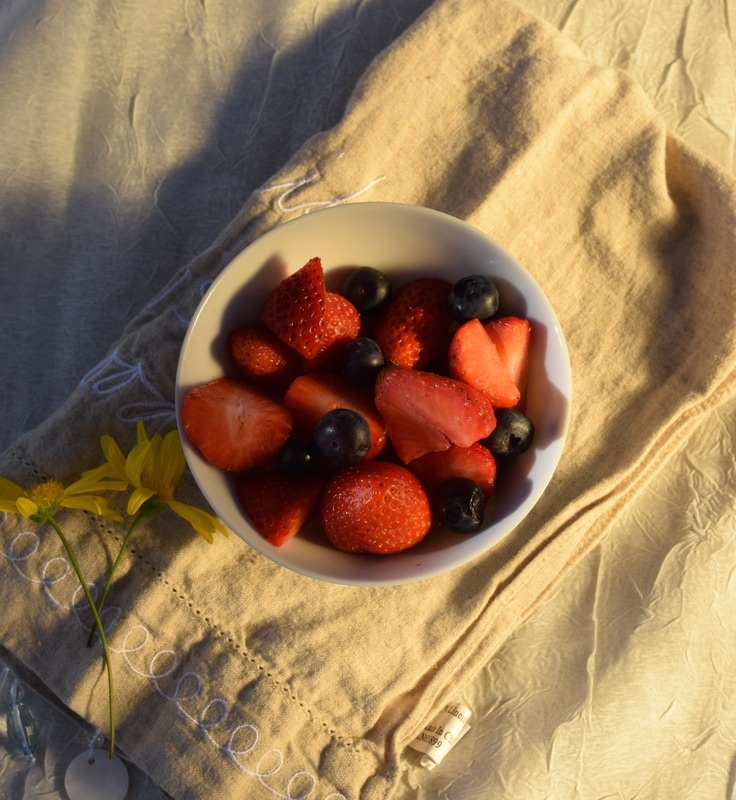
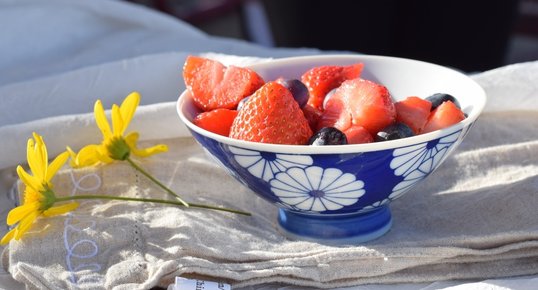
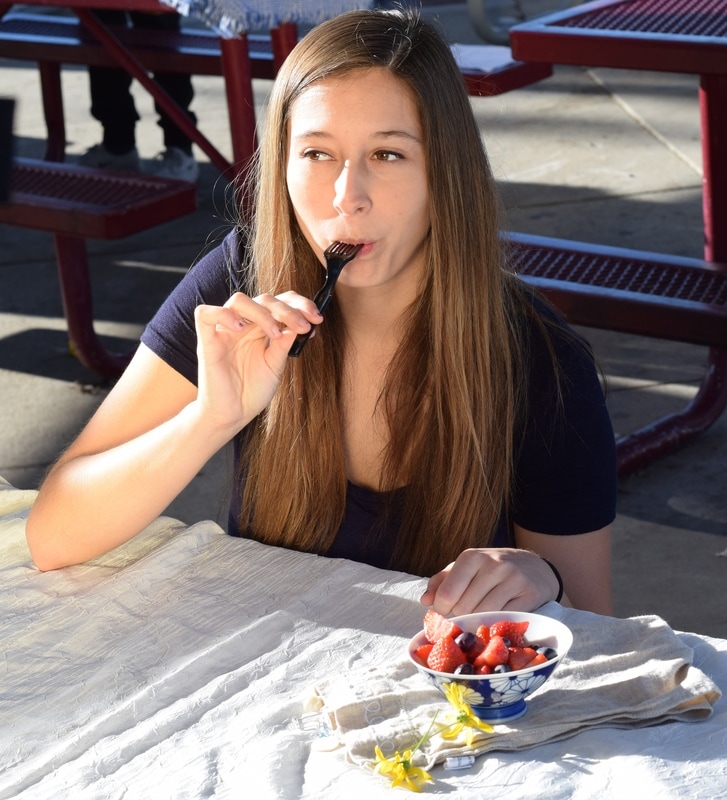
The food I used in this project were simply just strawberries and blueberries. The props I used which were china, dandelions, and a couple cloths made this project unique compared to others. Some things that I didn't know about food photography are that people use wax to make glasses look cold, they use aqua gel to make water droplets on glasses, they use crystal ice for the ice shards, sheer material affects texture, and that there's a long process to taking pictures that look like a spoon coming out of a bowl with cereal. Three things I learned from doing the food photography project are that props can make or break your picture and that too much light is bad for photos most of the time. Some careers that use food photography are ones that relate to cookbooks, commercials, and restaurants. What I was successful in was finding the correct lighting and angles. I probably wouldn't do this again because it simply just doesn't interest me as an artist/photographer.
|
Name Project
What I did to create this project was that I went around my school and took pictures of objects that naturally looked like the letters of my name. Then, I uploaded all the pictures on to my computer and edited them. To edit them, I cropped out as much as the pictures as I could so then only the letter would show. Then, I made the pictures black and white. Lastly, I put all the pictures into a template and voila. Luckily, I didn't struggle on any part of this project. What I like best about my project is that I was able to catch these small details in items, and was able to get creative finding them. To improve this, I can not use as many gates since they made the letters hidden within them hard to read.
Layer Mask Project
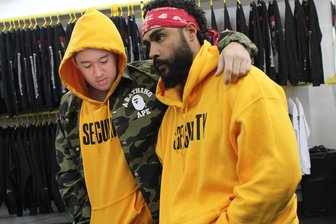
In this picture I am supposed to be Justin Bieber hanging out with Jerry Lorenzo. Jerry Lorenzo is the creator and designer of the major clothing brand, Fear Of God. This picture was most likely taken at a Purpose Tour or Fear Of God pop up shop. In this picture, I am posing for a picture with Lorenzo probably for some type of article or post.

My visualization for the next 10 years is that I will be in junior college next year, graduating from UC Santa Barbara in the next 5-6, and lastly having a steady career as a nurse after 10. This picture is supposed to be me 10 years from now and I am posing for a picture with a couple other nurses. As a nurse, I plan to work at the Palomar Medical Center unless they make an even newer hospital in the area.
To create both of these layermasks in photoshop, I had to find pictures that are large enough for me to actually photoshop my face on to. Then I had to take pictures where I posed like the person I had planned to layermask. After that, I used the lasso tool to circle around my head and then use the move tool to put my face over the picture. Then, I scaled the size of my head to match the size of the people I layermasked and lined up our facial features.
SEE All OF MY WORK

Edit this text to make it your own. To edit, simply click directly on the text and start typing.
|
Edit this text to make it your own. To edit, simply click directly on the text and start typing. You can move the text by dragging and dropping the Text Element anywhere on the page.
|
